Intro
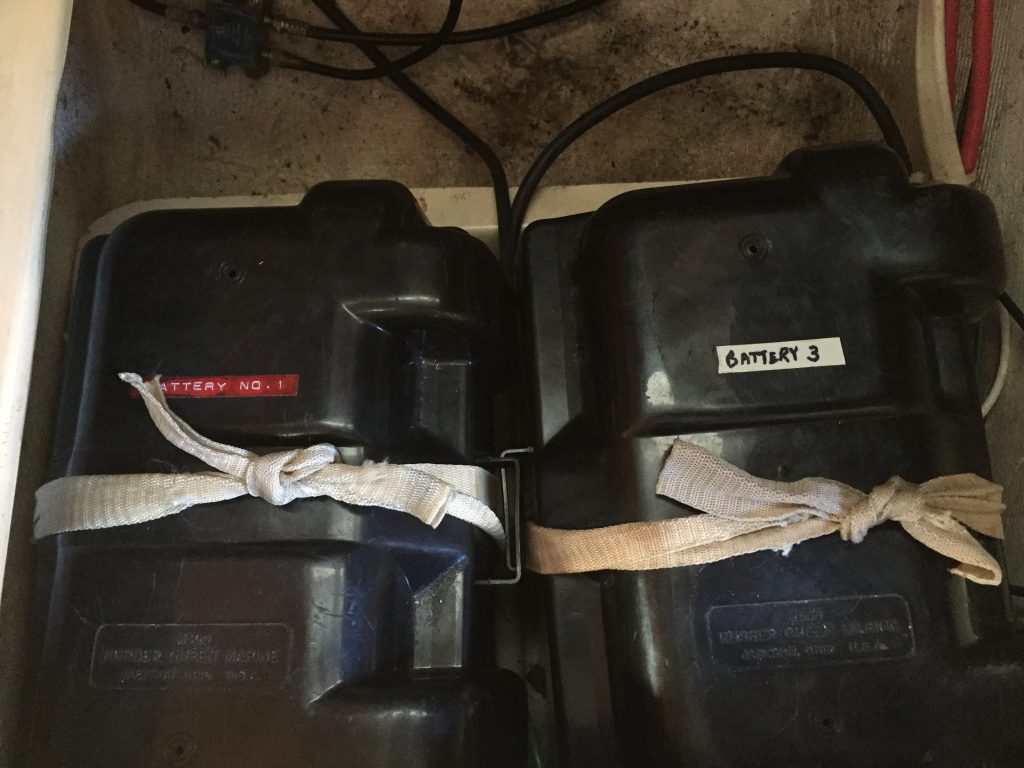
When we bought the boat, it was setup with 3 Group 24 batteries. One each for house (#1), windlass (#2), and starter (#3). They were about 4 years old, and the house battery would not hold a charge very well at all, especially if we had the fridge on. They were also wired to two battery selector switches, but in a way that made no sense. You could not isolate the starter battery, and it basically just combined them all together.
With all of the electronics we planned to add and the desire to run the fridge while sailing, we knew we needed an upgrade.
Switches
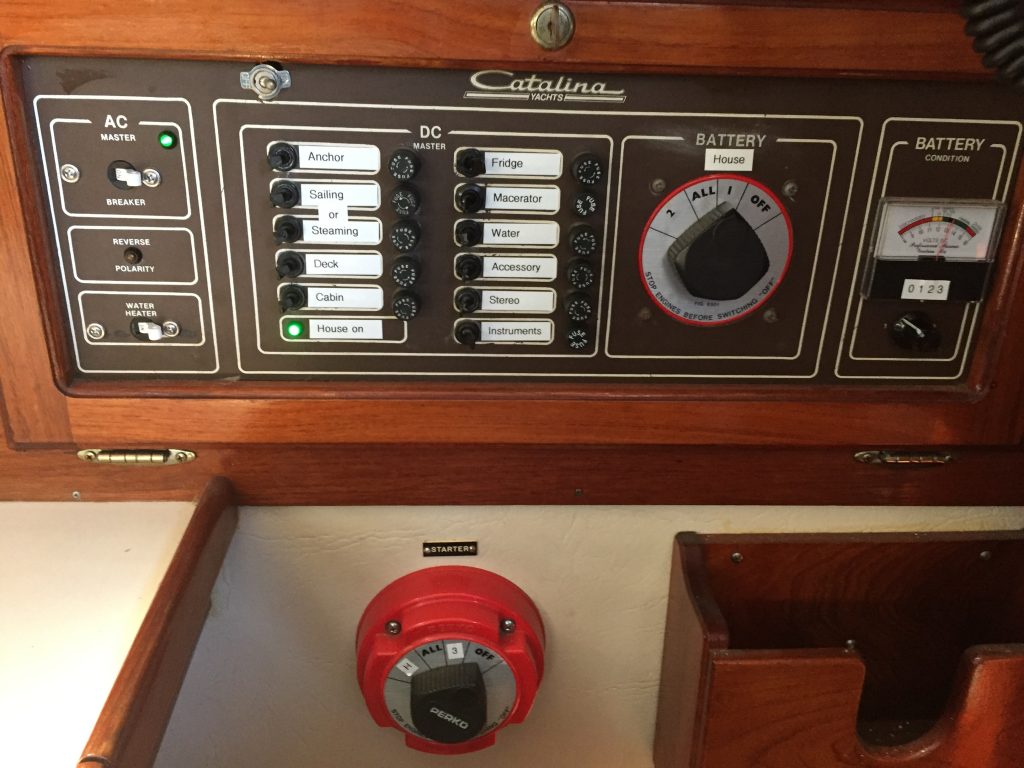
We started by rewiring the selector switches. The one on the panel was wired to the house panel, and could select from #1 (house) or #2 (windlass). That way we had a backup batter for house if we ran down #1.
The second switch next to the nav seat was wired to the starter, and could select from #2 (starter) or the output of the house switch. That way we could add #1, #3 or both to the mix for starting if needed.
This combo gave us the ability to isolate batteries, but still had a lot of flexibility to combine them as needed in emergencies.
Relocate starter battery
Originally, the house (#1) and starter (#3) batteries were under the aft small seat on the starboard side, and the windlass battery was under the forward small seat.
We knew we wanted to add more house batteries, so we moved the starter (#3) battery up to the compartment behind the aft small seat. By removing the trim around the hole, the Group 24 batter just fit through the opening. I added two tie-down brackets and Susan sewed some webbing straps to hold the battery in place.
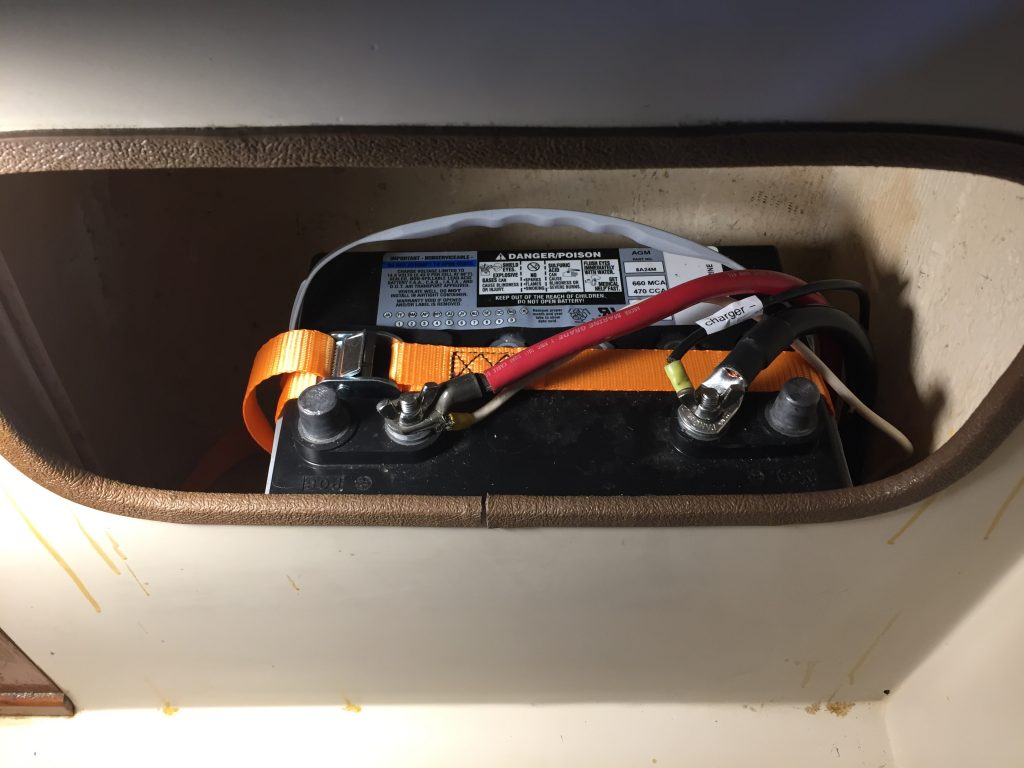
The positive cable was just long enough to reach the new location, but I had to rearrange the ground wires and add a new one to reach up there.
New battery platform
Next I removed the tired, old Group 24 that was the house (#1) battery, and chiseled out the fiberglass battery tray that was under the seat. When I got it off, I found that it was barely attached, and the wood block under it was soaked and rotten. I drilled an extra drain hole so this compartment could drain better into the bilge, and built a new platform.
New house batteries
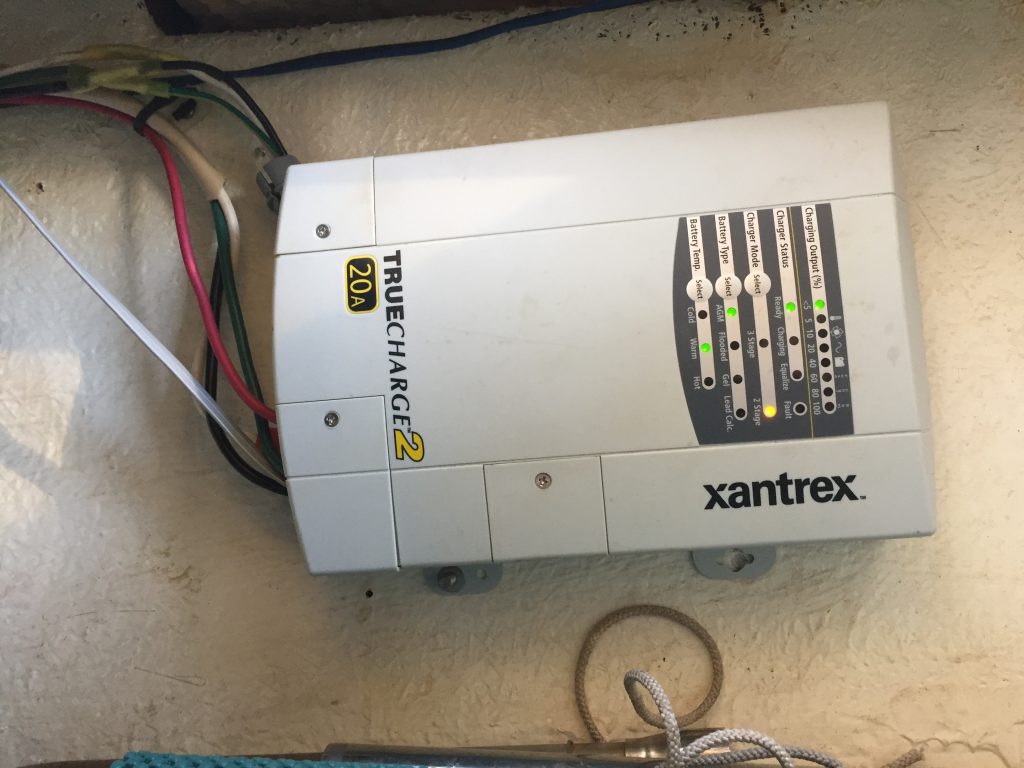
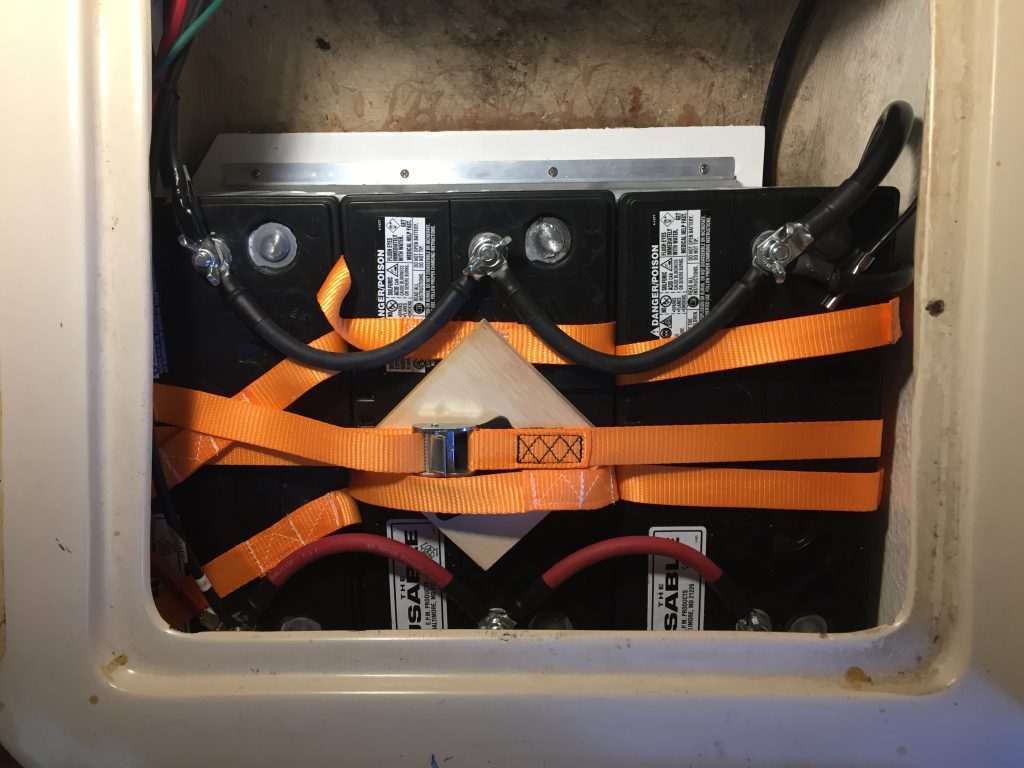
After careful measure and testing with cardboard mockups, I determined I could fit 3 Group 31 batteries in the space. Since we already had a 3-bank charger that can only be set for one kind of battery type for all three banks, I decided to stick with AGM.
Therefore we bought three Group 31 110AH batteries from a local solar company, and they became our new house bank (#1a, #1b, #1c). A few new heavy-duty short cables later, and we had more than 4 times the power reserves for our house needs.
I used an aluminum angle strip to hold them side-to-side, and webbing straps to hold them down. They were pretty wedged in fore-aft, so that along with the webbing, and they are not going anywhere.
Susan also sewed some webbing loops that I put around each battery as handles for getting the in and out of the space. It is so tight in there that it would have been next to impossible to install or remove them without the straps.
Fuses
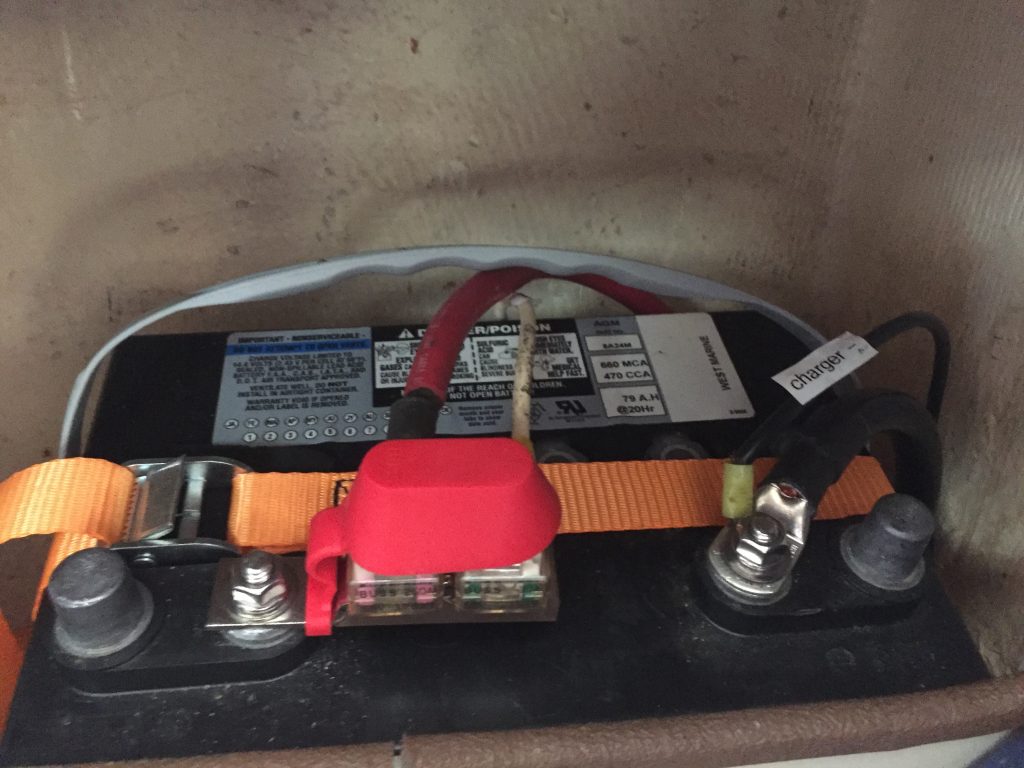
After doing some reading about battery safety, I decided to add fuse blocks to the terminals of each bank. This will protect from melted wires if one of them should short to ground somewhere.
I chose blocks that could mount directly to the terminals and had two fuses on each. I used a 50A fuse for small wires, and a 250A for large wires.

Meters
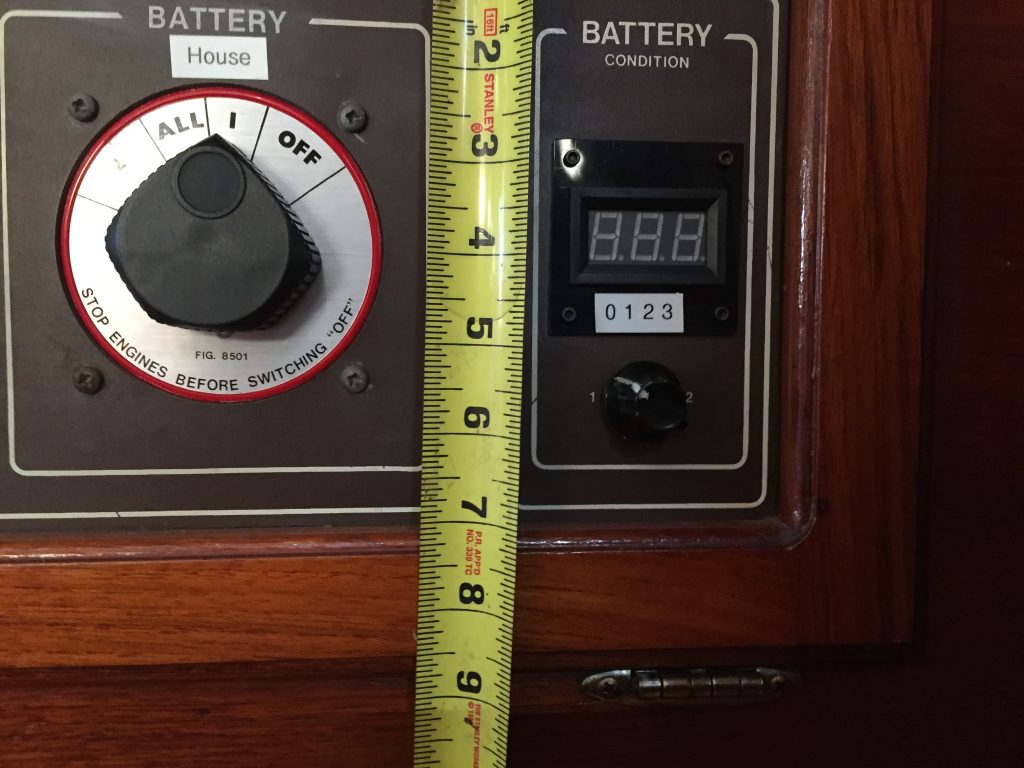
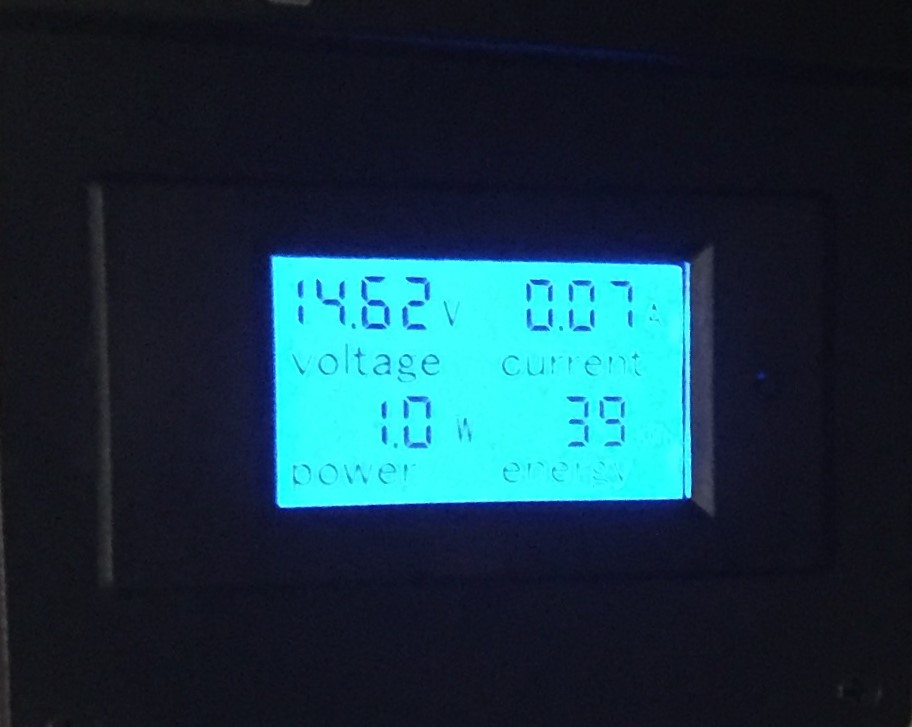
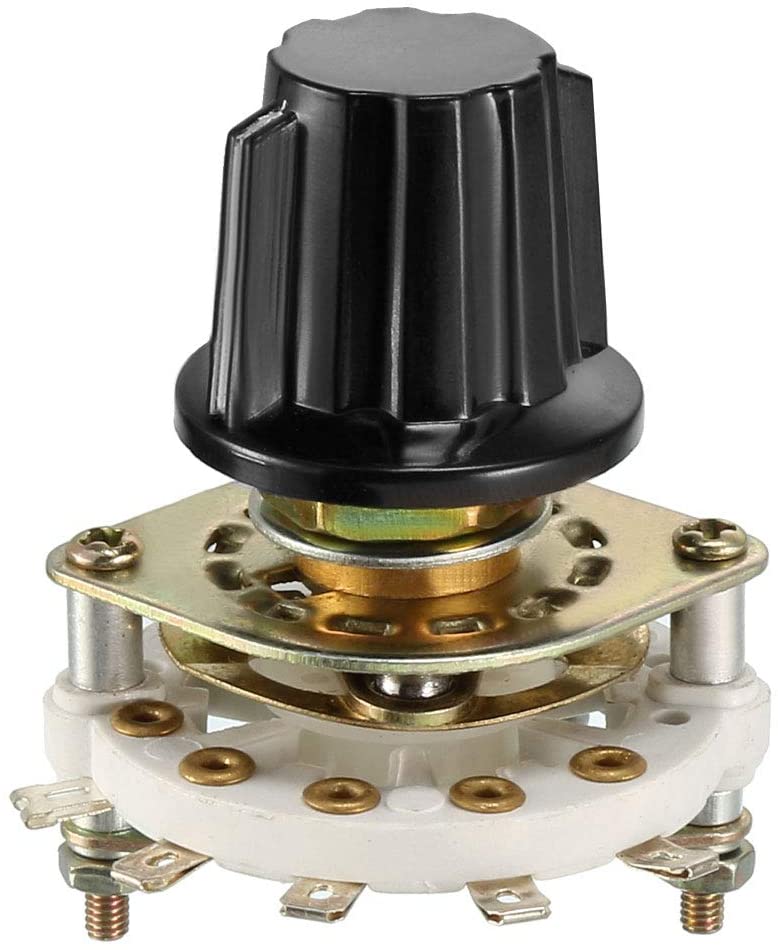
To manage all this, I replaced the analog panel volt meter with a digital one. I also replace the selector switch for the meter with one that had 4 positions. We can now have the meter off most of the time, but select #1, #2, or #3 for testing each bank.

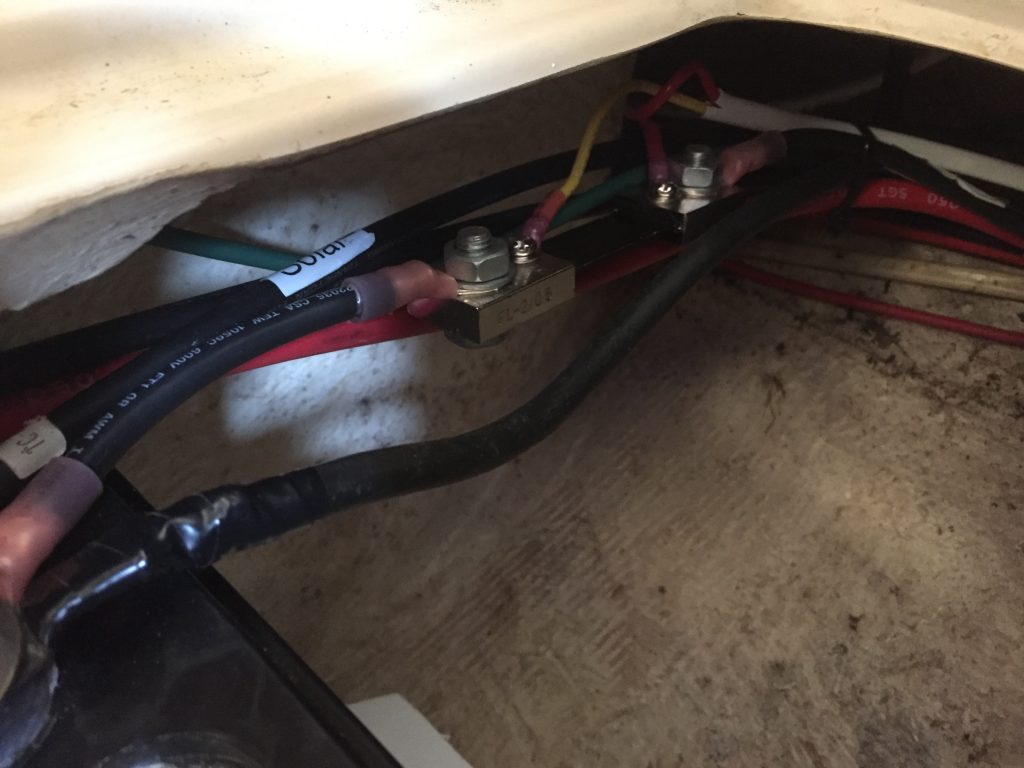
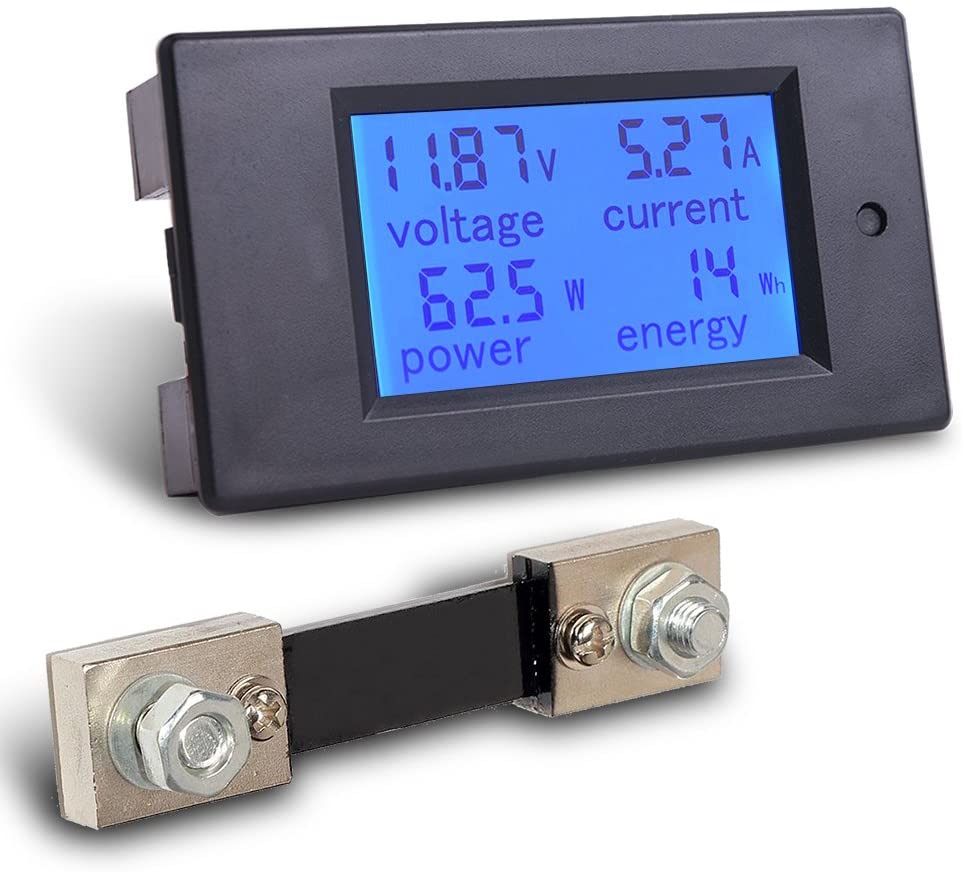
I also added a shunt at the positive terminal on the house bank and connected a digital ammeter to it so we could better understand how much current we were drawing.

See the DC Power page of the electrical schematics to see the overall battery system.


