Background
After living with our new bilge pump setup for a year, we still had more water in the bilge than I liked, and it tended to grow slime and bad smells. I wanted a way to get more of the water out, and the way the Rule pumps are built, that was just not possible. I chose to install the Dry Bilge System. This package has 3 main parts which allows for quite a bit of flexibility in how to install it.
Pickup/sensor
I put the pickup/sensor in the center bilge compartment, figuring it would get at least some of the water from the other two compartments as we bounced around. It does not have a great way to hold it in place, so I used a stainless angle bracket that had been used to hold the old float switch. It worked well to clamp the pickup in place.
Pump/filter
The pump needs to be somewhere mostly dry, so I mounted it under the port settee, next to the fuel filter. This kept it close enough to the pickup that the hose and wires would easily reach, and it was a nice solid mounting location with good access.
Control unit / wiring
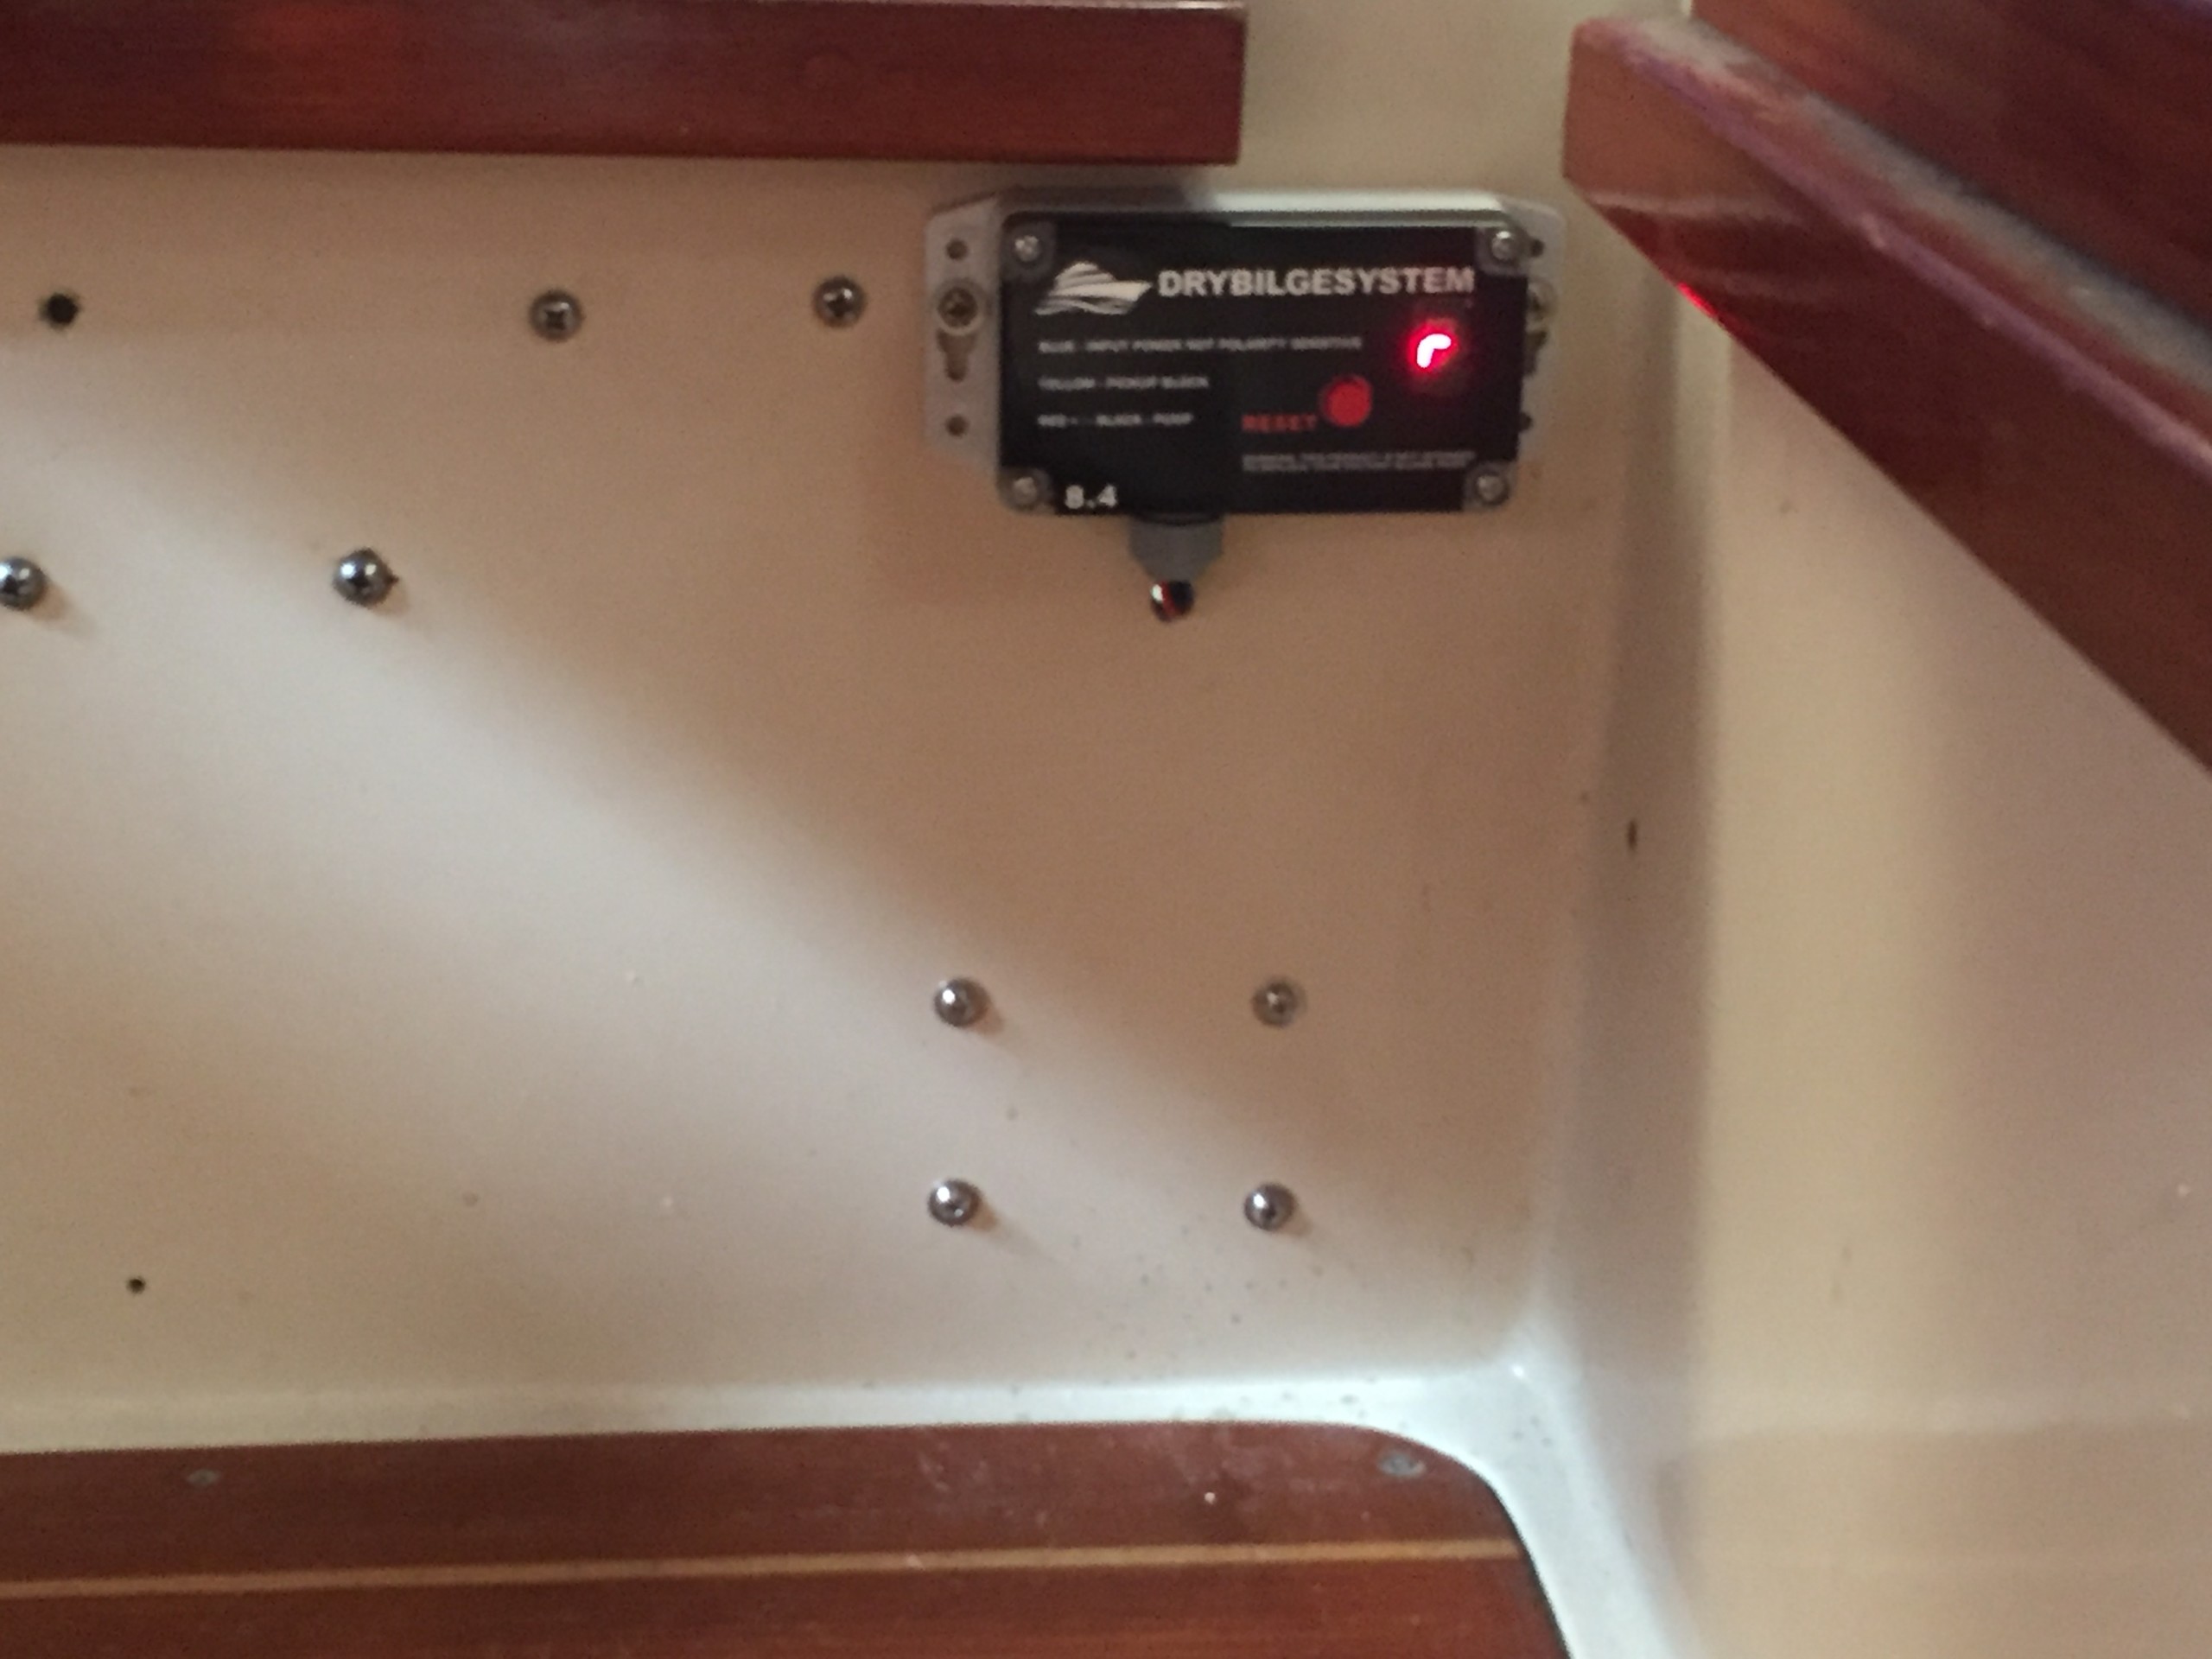
The control unit needed to be near the pump, but also visible and accessible. The best place I found was under the main salon table, just on the other side of the panel where the pump was installed. I drilled a hole large enough for the wires to go through, and used heat-shrink crimp connections to connect it to the power (blue), pump (red/black), and sensor (yellow) wires.
I added a new breaker at the DC panel, and ran a new 14g wire pair to the controller.
Outlet
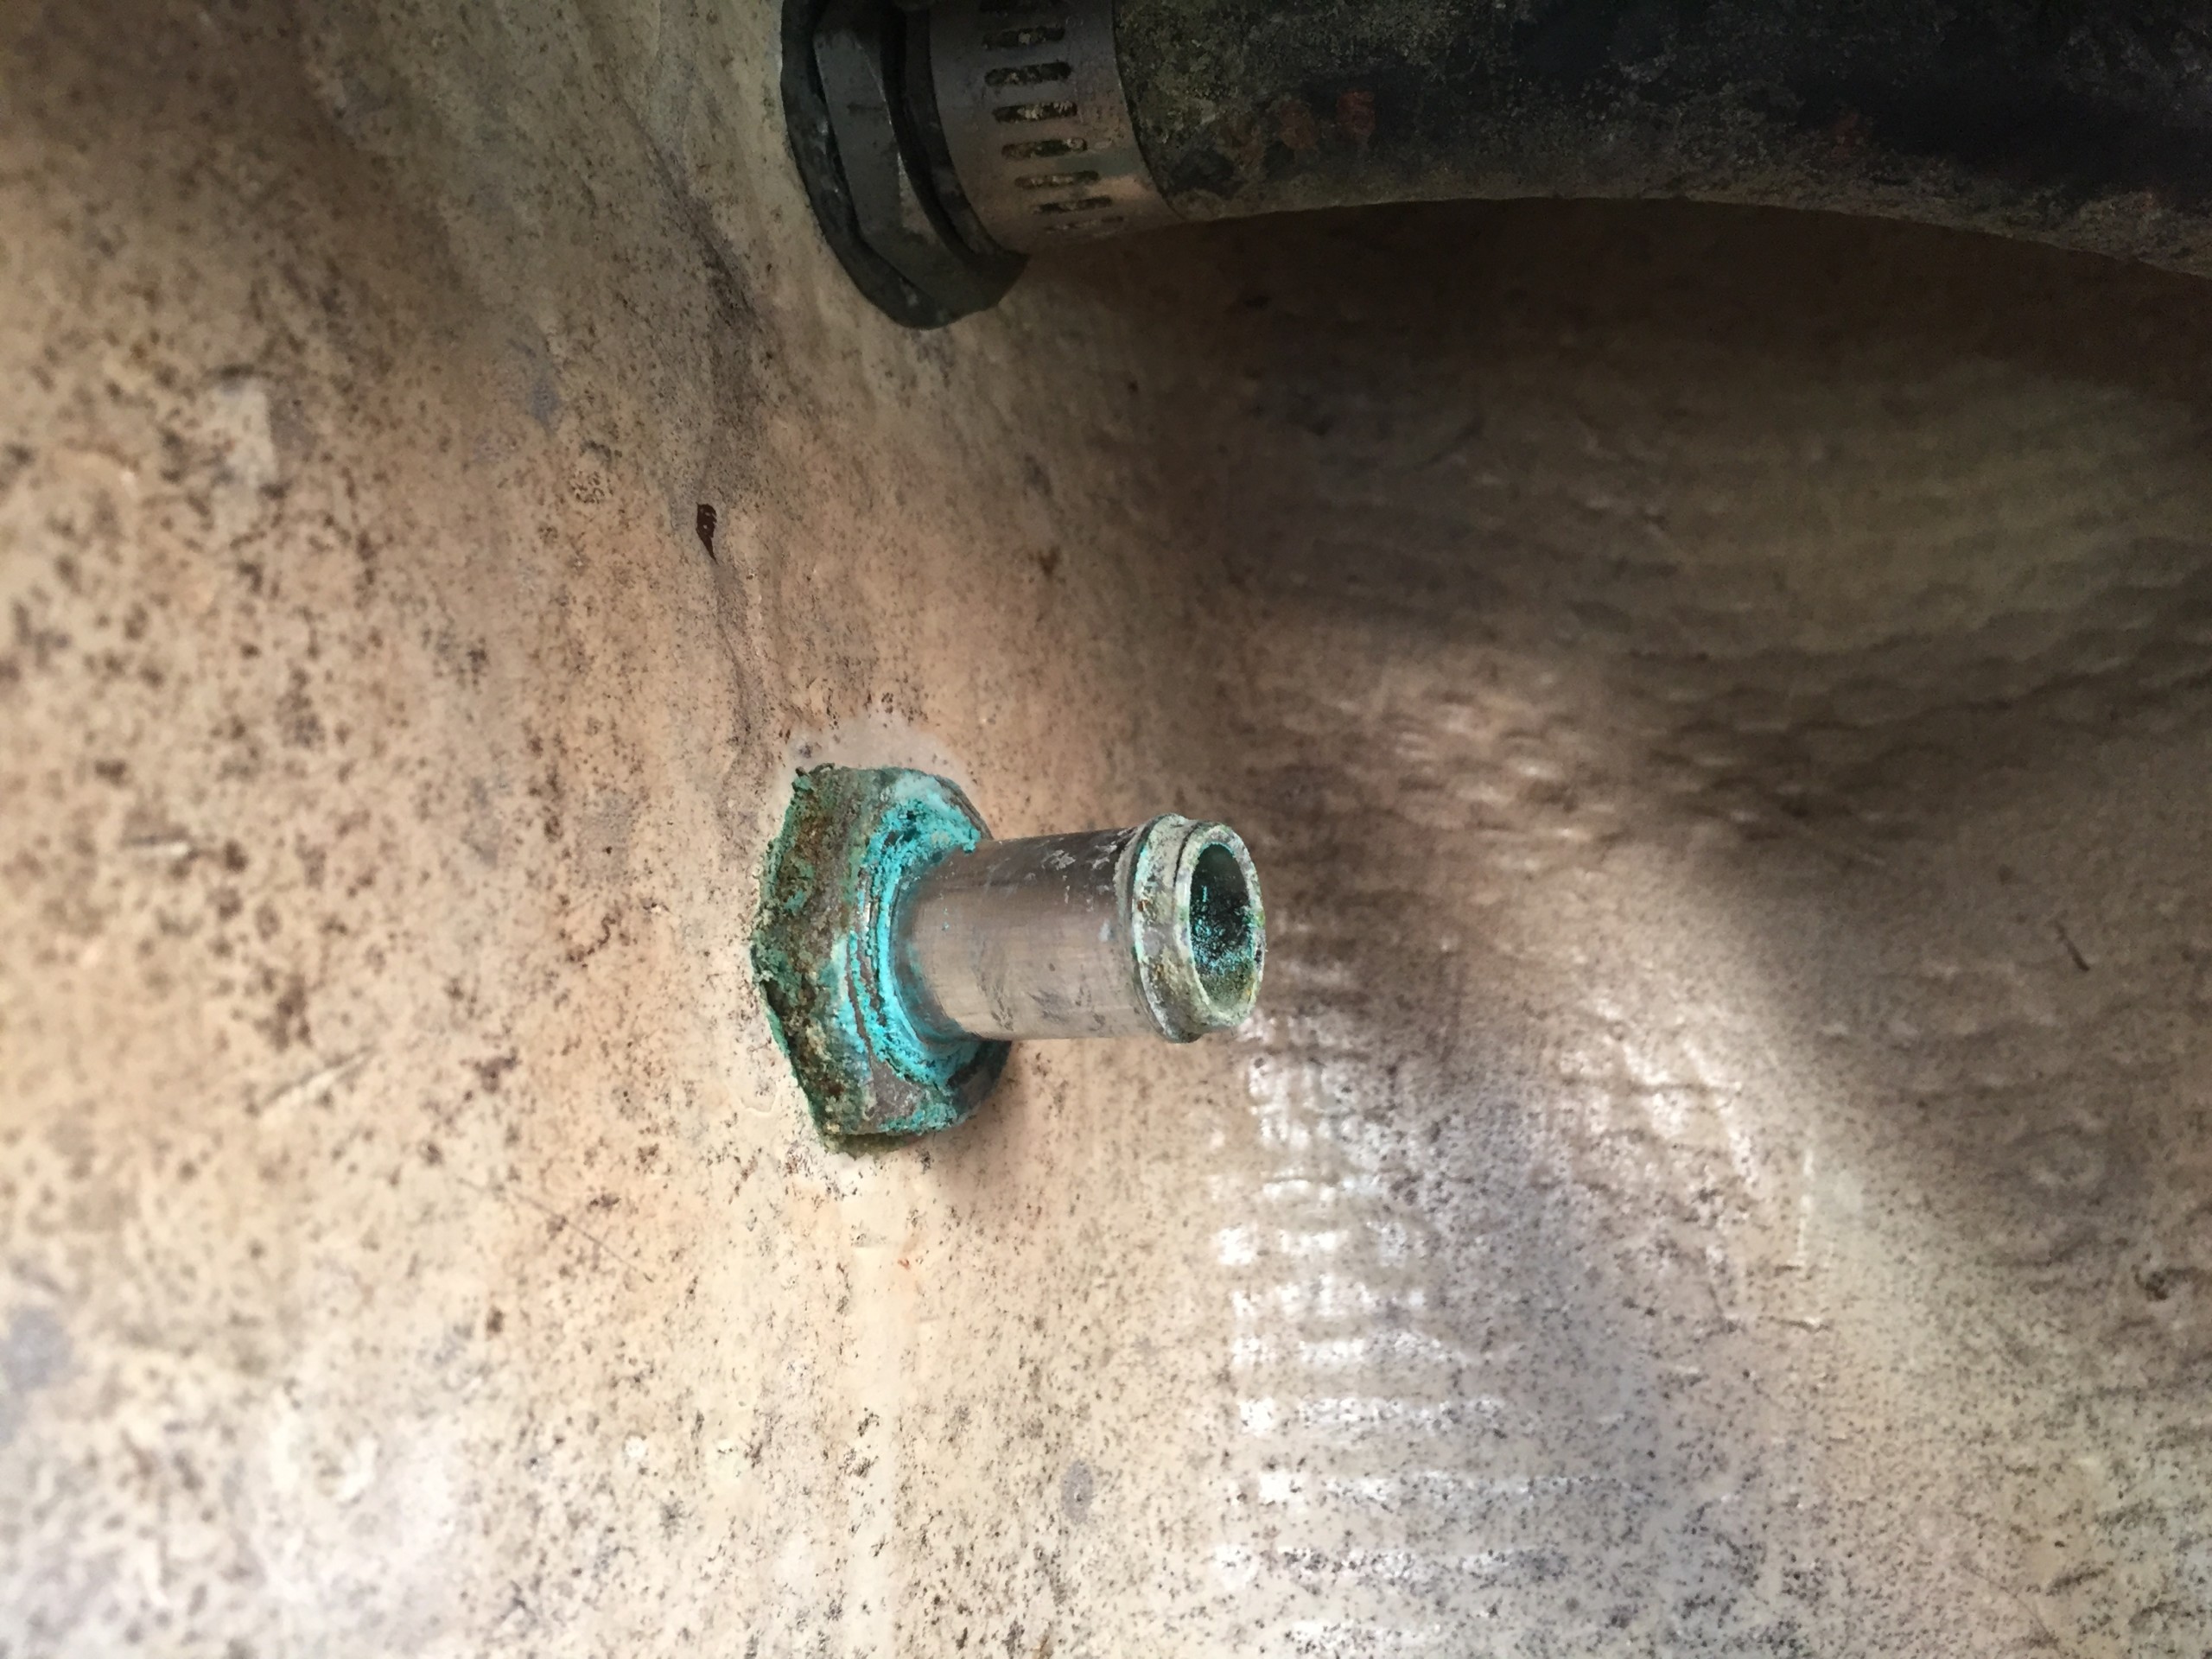
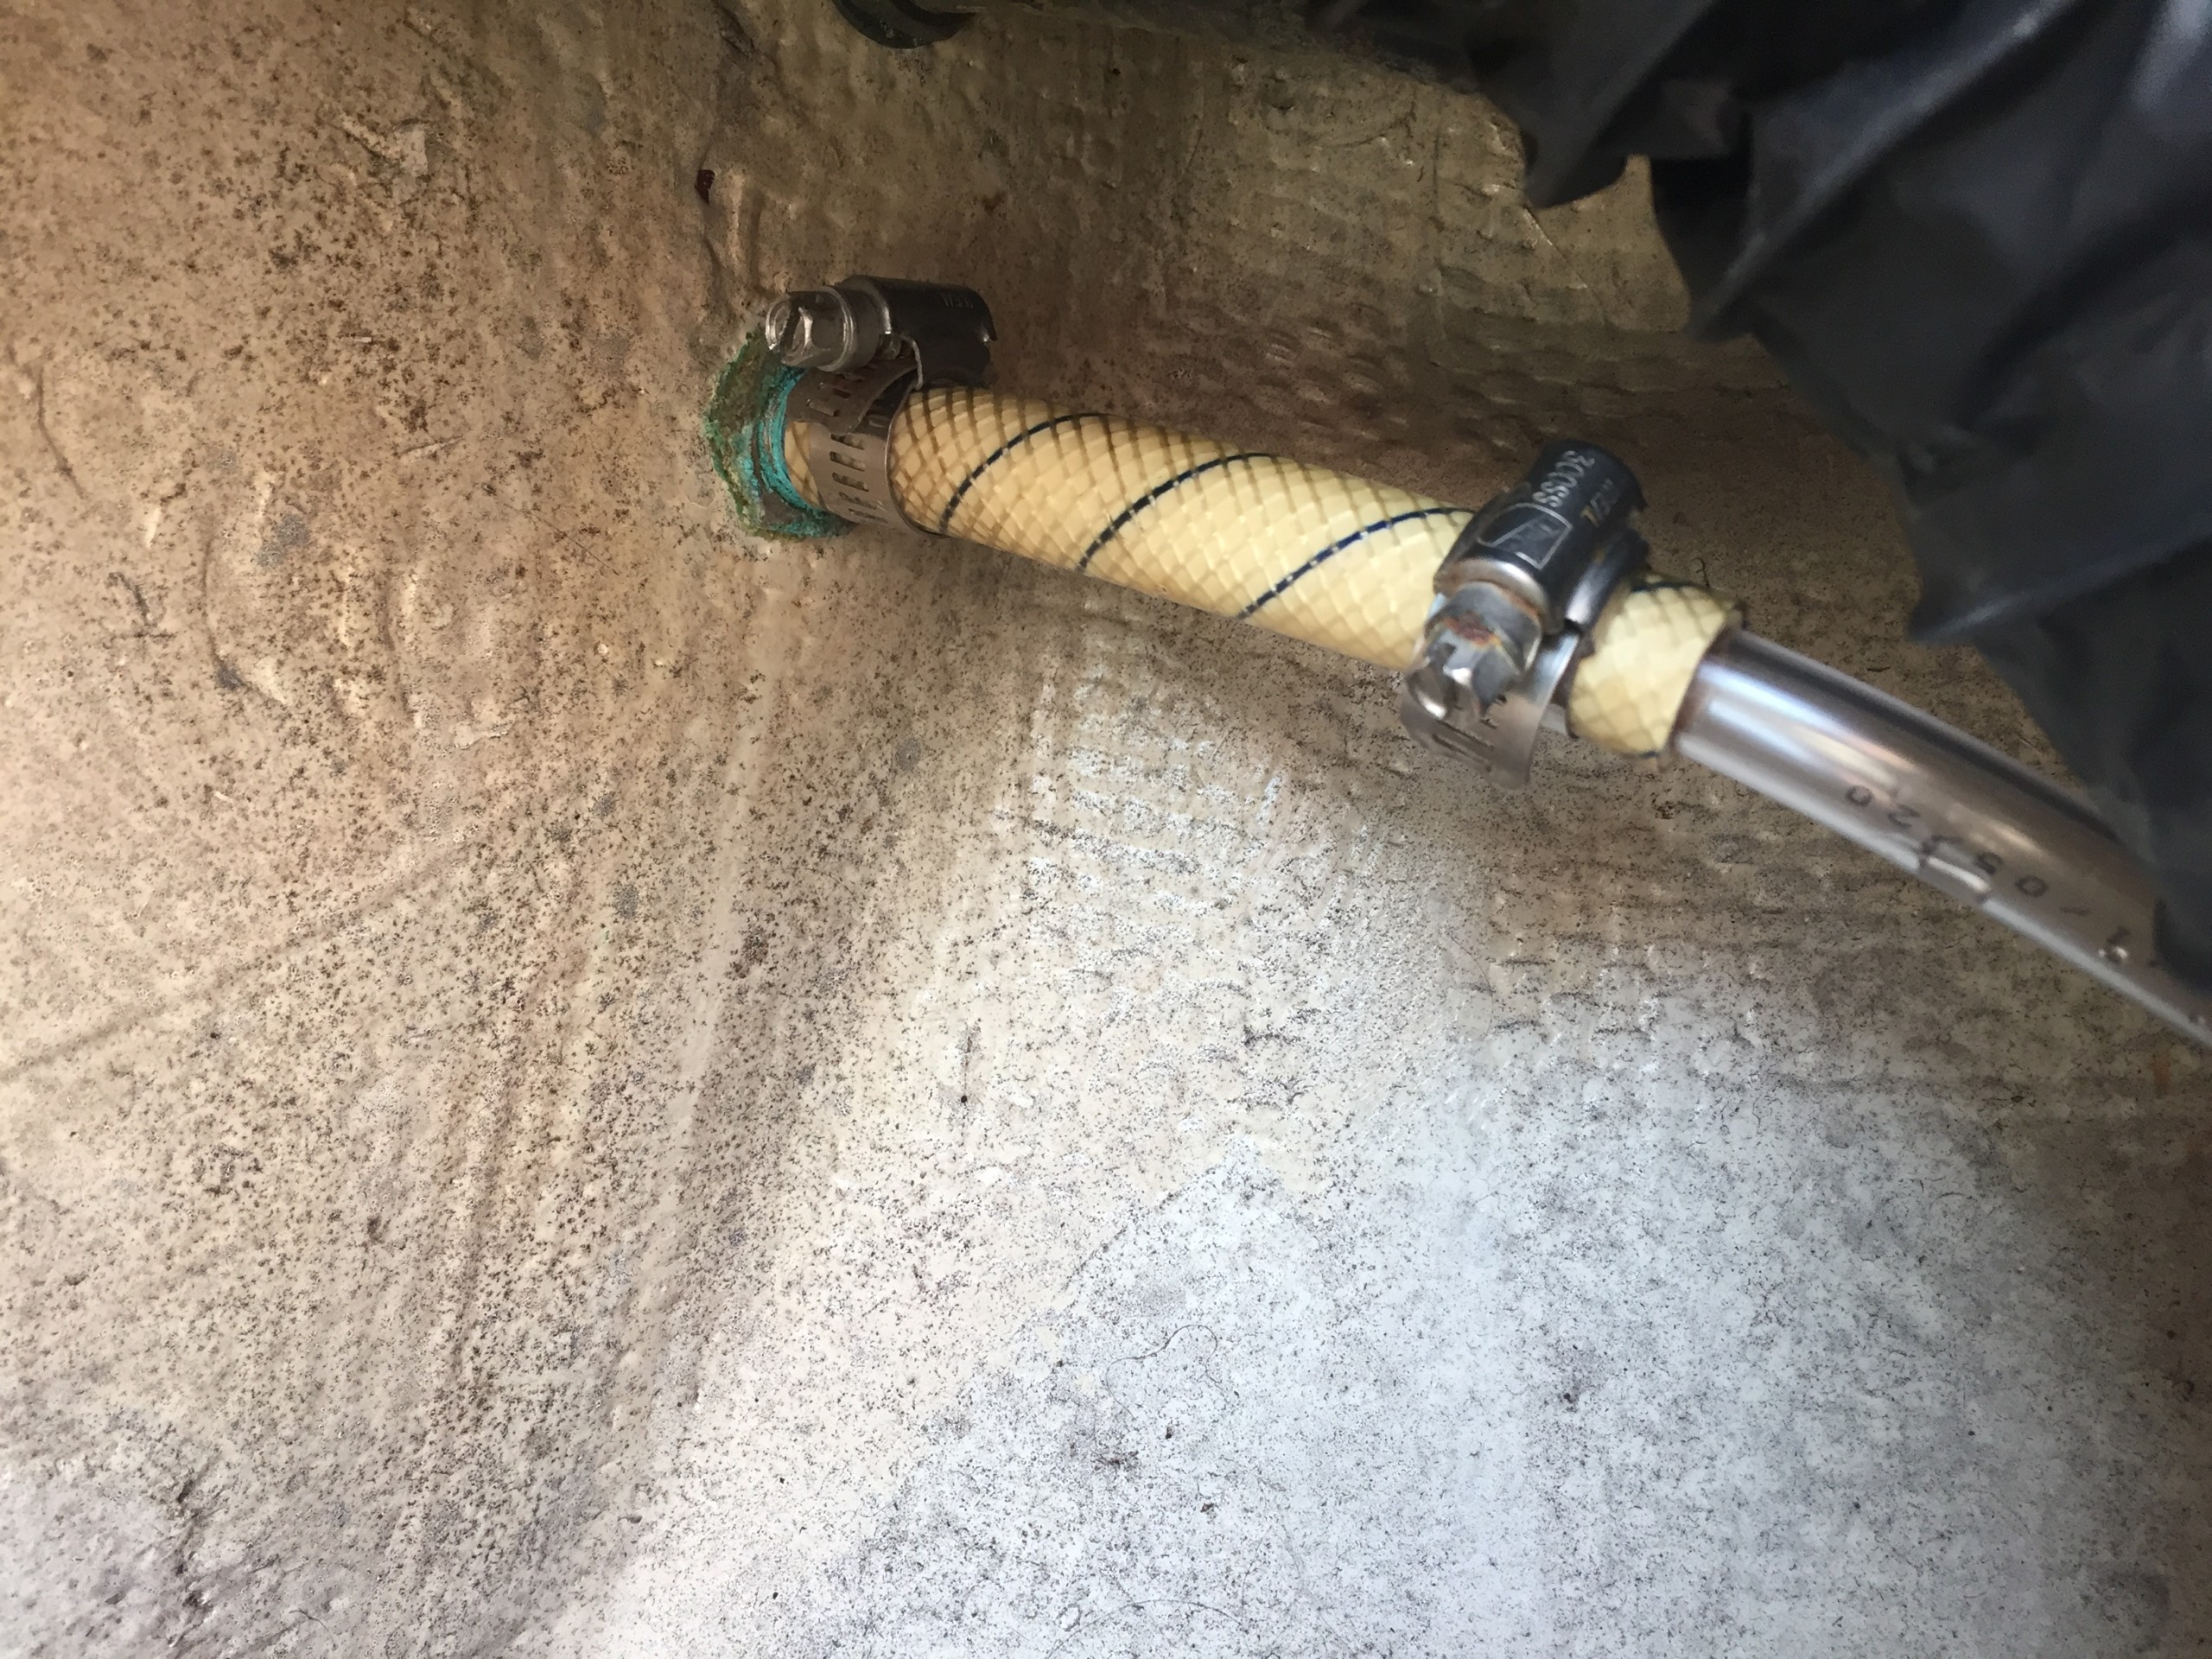
Figuring out where to plumb the outlet was the most challenging part. There were suggestions for running to sink drains or cockpit scuppers, but those all seemed problematic in many ways. I ended up getting lucky. While in the middle of this project, I was also working on removing the old CNG tanks. When I disconnected the regulator, I found that it had a vent line run to a small through-hull on the upper-port side of the transom. This turned out to be the perfect place to run the new bilge hose.
I used 3/8″ PVC tubing from the pump to the stern. West Marine wanted $3/ft for this line, but I picked up 20 feet at Home Depot for $10. The fitting on the through-hull was for 1/2″ ID hose, so I used a short piece of 1/2″ hose to connect to that. Then the tubing was 3/8″ ID, but 1/2″ OD, so it fit snugly inside the 1/2″ hose, and I added a hose clamp for good measure.
Conclusion
The Dry Bilge System is only meant for pumping small amounts of water, but it does a very good job of getting almost every drop from the center bilge compartment. For any significant water, the Rule will kick in and do the heavy lifting.
We still have a small amount of standing water in the for and aft compartments, but hopefully we can keep that to a minimum and make it easier to keep the bilge clean.


Update 4/29/23
Just two years after installing the system, it started showing “FAIL” on the controller. After a bit of debugging and disassembly, it was clear what the problem was. The motor had completely corroded and seized. It had never been immersed or disassembled prior to today, yet it failed to cope with a normal marine environment inside our boat. I emailed to the company, but got no response.
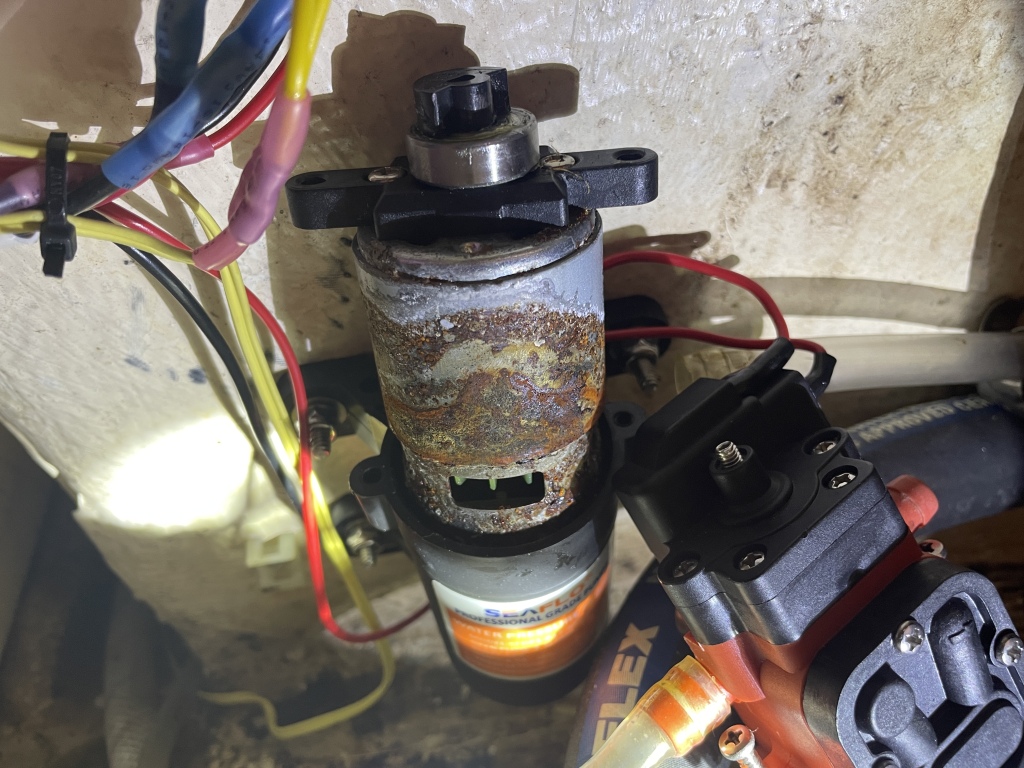
Luckily, the pump is inexpensive, so I bought a new one (ShurFlow SFDP1-012-035-21). I am not thrilled with the quality, but I really did not want to redo the mounts and plumbing. I will just check it during my annual maintenance from now on.
When I got the new one, I dismantled it to see what kind of seals it had for the motor housing. I was shocked to find there was no seal. No wonder these things fail so quickly. I put a bead of silicone sealant around where the motor fits in the housing, and screwed it back together. Hopefully this will help protect it longer.
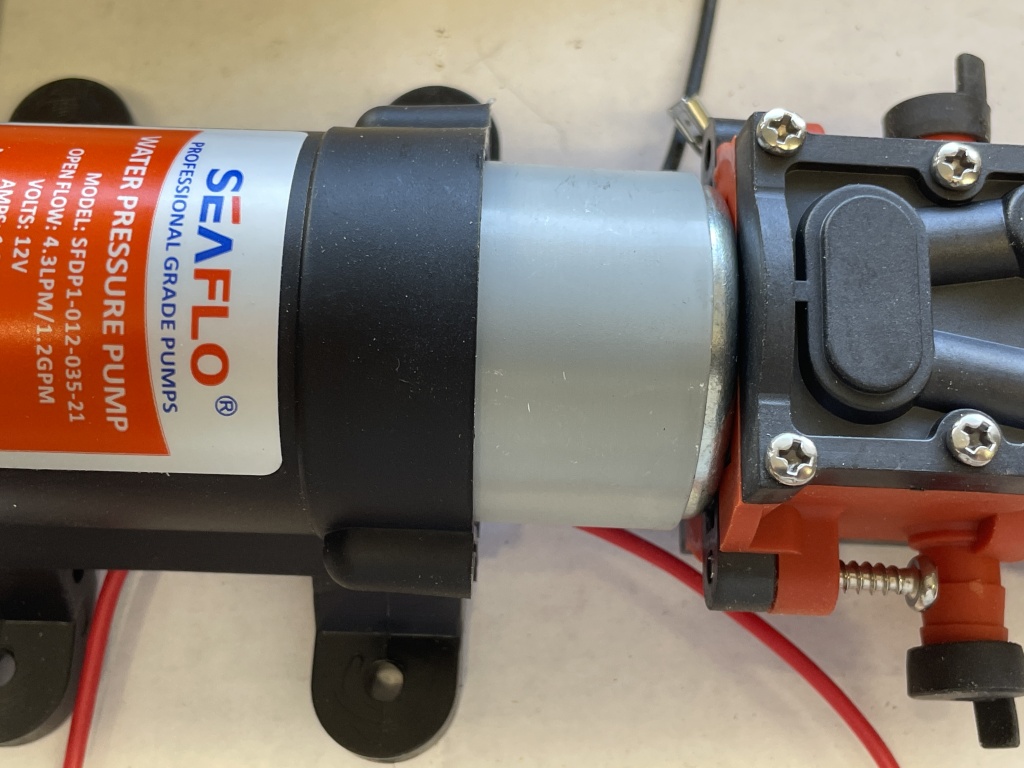
No seal to protect the motor from moisture.


