Intro

Our original galley faucet had some corrosion on it, and it was chrome instead of the stainless steel look we were going for in our accessories. Also, the knobs were hard to turn when your hands are wet and caused us to drip all over the back of the sink when washing hands.
We decided to replace it with a more modern looking faucet with a single lever-style handle. We found a bar faucet on Amazon that wasn’t too expensive and had the size and look we wanted.
Disassembly
To get to the plumbing fittings I had to remove the big drawer under the sink. It just pulls out, but to get it all the way out, I had to remove the ladder over the engine box.
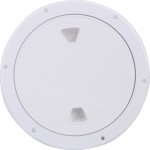
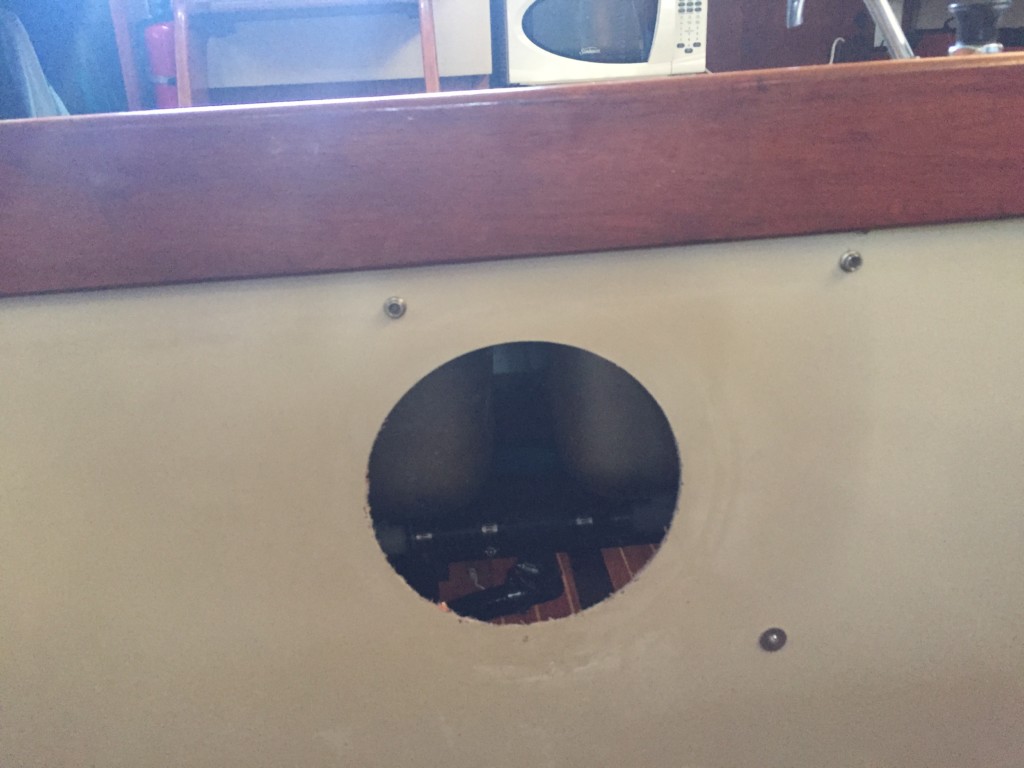
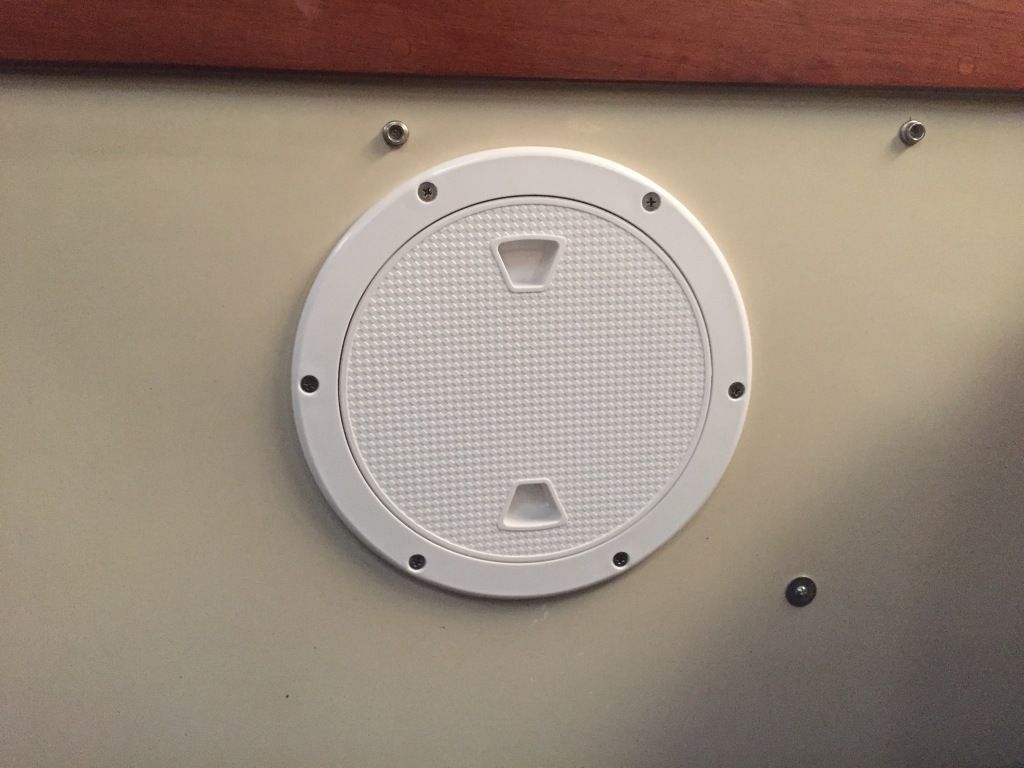
Then, to make it easier to get to the faucet itself, I cut a hole in the fiberglass panel behind the forward-facing seat. I chose an inspection hatch that would give me maximum access while still having a low profile that would not bulge the seat back. For this hatch, I cut an 8″ hole. Since the finished size of the hole is 7″ once the hatch is installed, I chose to mount it after all the plumbing work was done so I had the extra room to work.
Even with the access from the other side, there was no good way to get a wrench on the big nut that holds the faucet in place. I found that I could grab the faucet itself and turn while holding the nut in place with my finger. This did loosen the nut, but I could only turn the faucet about 20 degrees before the handles hit the wood fiddle. I decided to remove the handles, and that gave me enough clearance that I could spin the faucet from the top until the nut was loose enough to remove from below.
Clean up
With the faucet out, it gave me more room to clean up the old caulking behind the sink as well as a chance to polish out some of the stains and corrosion on the sink around where the faucet was installed.
Install
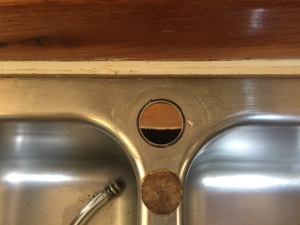
The old mounting hole was smaller than what the new faucet required, so I traced the outline of the new mounting base, and enlarged the hole. I tried using various grinding wheels on my Dremel, but nothing really worked. I ended up using a hand file.
After the hole was ready, the rest was pretty straightforward to install. Reinstalling the mounting nut was the reverse process of what I used to remove the old one: hold the nut in place with my fingers while turning the faucet from the top. The rubber washers top and bottom helped provide enough friction, so with a little back-and-forth, I was able to get it pretty tight.
Fittings
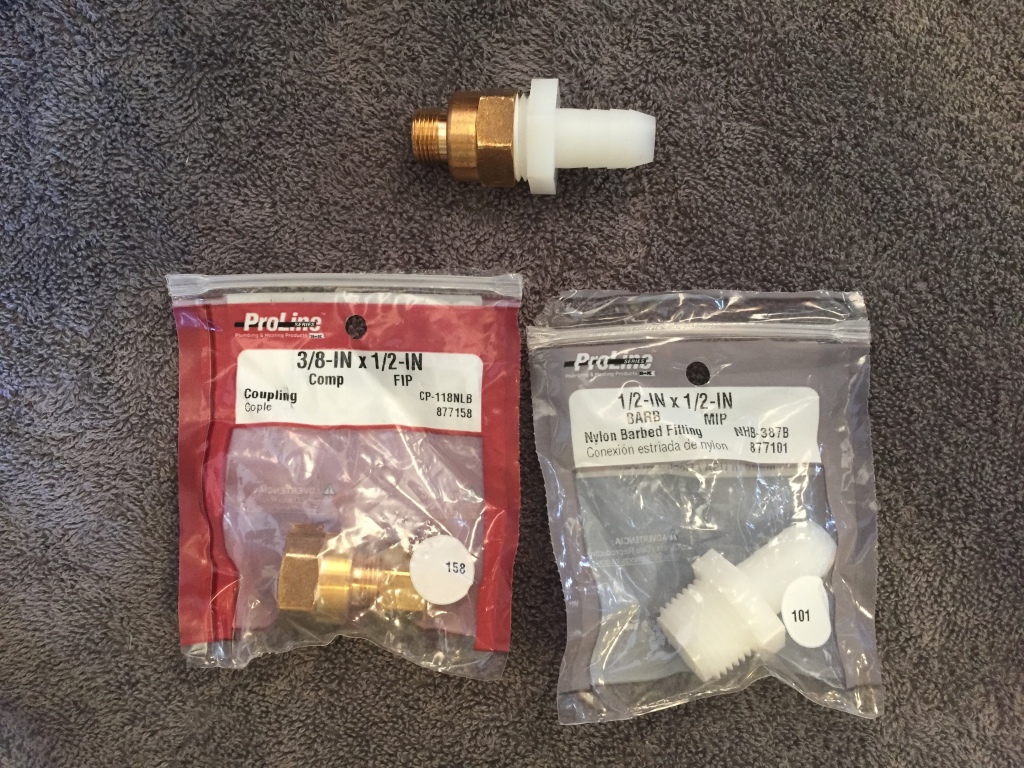
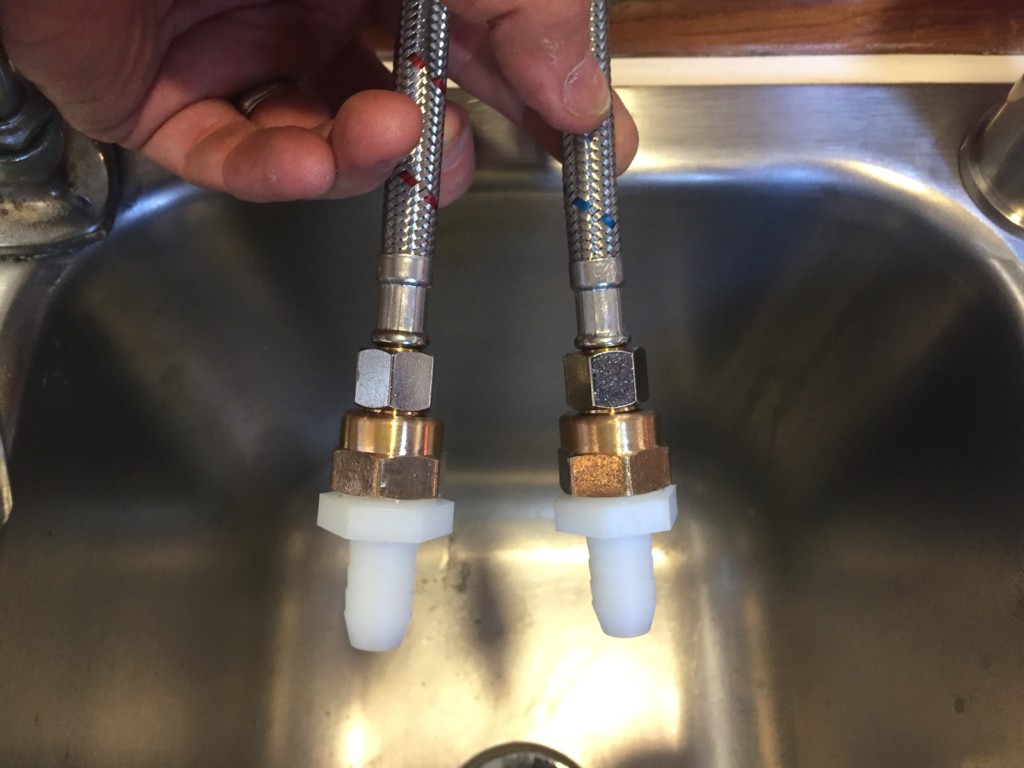
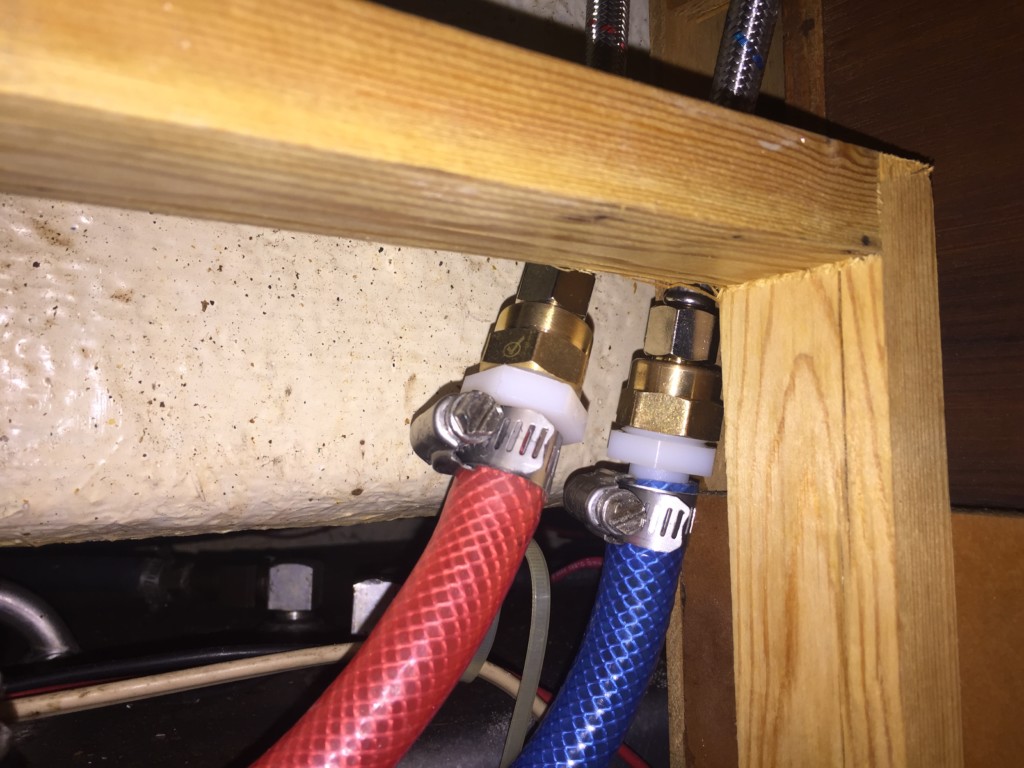
The fittings on a household faucet do not directly attach to our hose fittings, so I used one side of a 3/8″ compression fitting to convert to 1/2″ FIP, then used a 1/2″ MIP to 1/2″ barb fitting to convert to the supply hoses.
Results
The end result looks pretty nice, and is much easier to use.


