Background
The fridge in del Sol has always had issues keeping things cold during the summer. Everything works, but it just could not keep up with the lack of insulation that is inherent in these older Catalinas. I had tried adding better lid insulation, upgrading the thermostat, and even installing internal fans, but we just could not rely on the fridge on hot days. Since we take a two-week trip on the boat every August, this was a real issue. I finally decided to replace the unit with a newer one that had more capacity, and to make sure it was properly vented.
Somewhere along the way, a previous owner had replaced the original unit with an Adler Barbour system that was driven by a Danfoss BD35F. This is not a bad unit, but it really did not have a chance. It is a bit under sized for our fridge size, especially with the poor insulation of the cold box. Also, it was installed in the port lazarette, which has no air flow, is above the waterline, and gets quite hot inside.
Without completely rebuilding the cold box, there is not much more I could do about the insulation, but I could fix the rest of the issues.
Cooling Unit
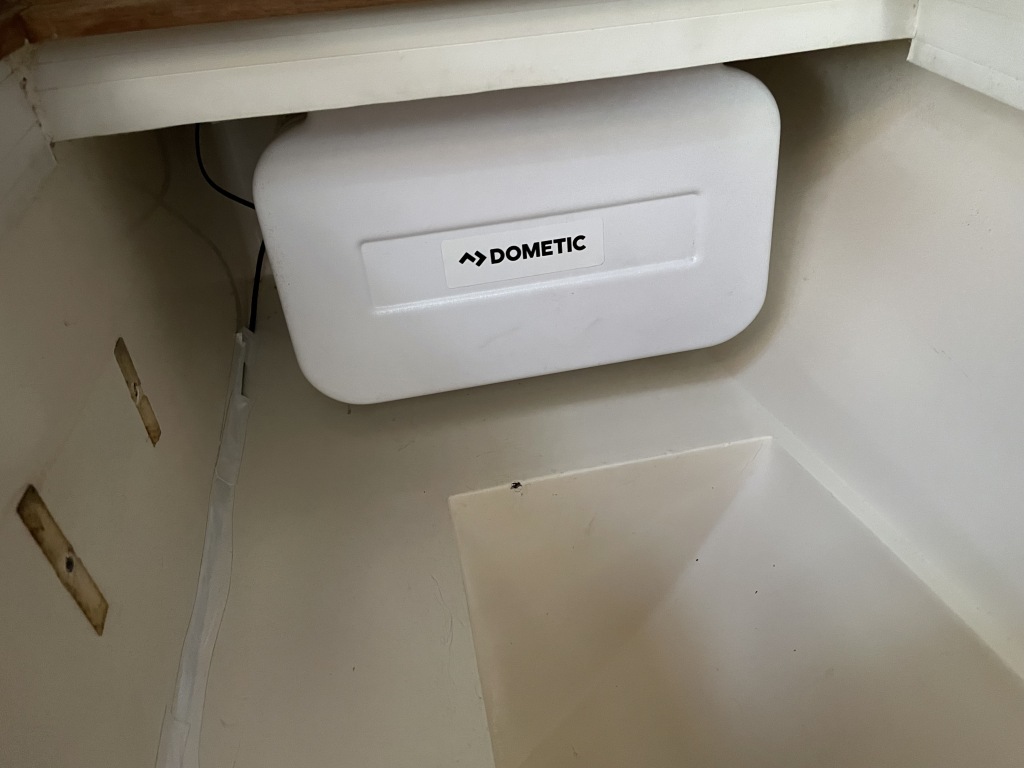
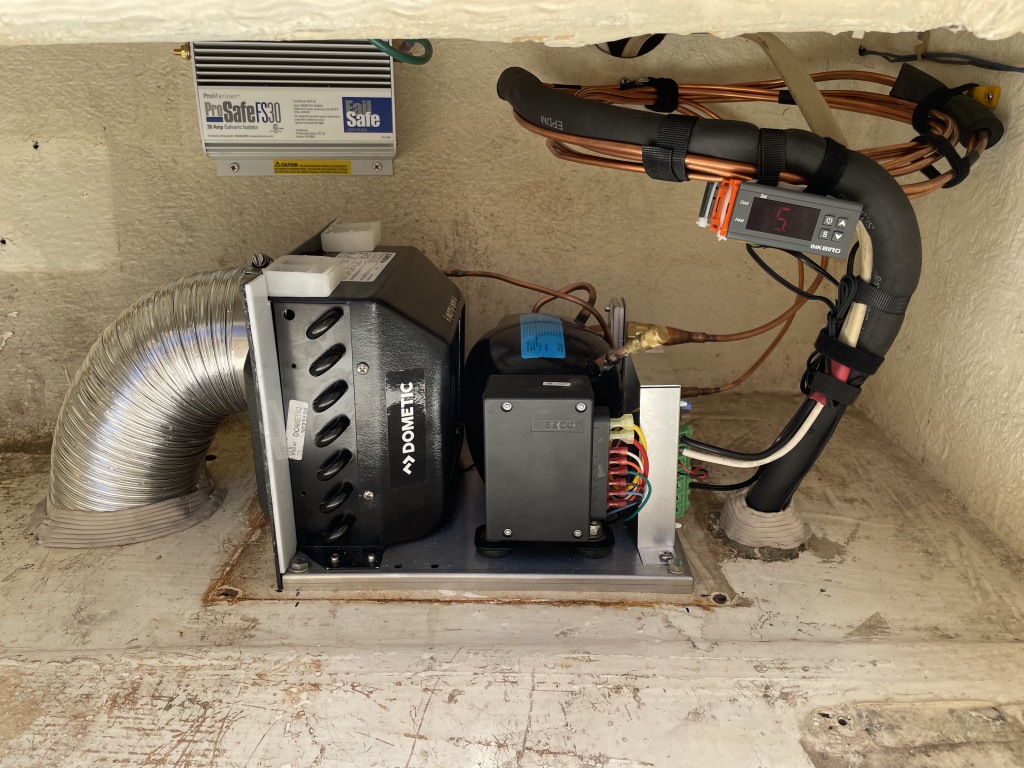
To start, I purchased a new Adler Barbour/Dometic unit with a higher capacity. I chose the CU-100 compressor, which is based on the BD50F. For the evaporator, I chose the VD-151, which had the same footprint as the existing unit to make installation easier. There are many good systems out there that are based on the same components. I chose this one based on availability and the evaporator footprint.
Ventilation
In the new Catalinas, the fan has a duct to a grill on the galley wall. But in the older ones, there was no ventilation at all. In order to provide proper cooling for the coils, it would need to pull air from somewhere else with cooler air. I really did not want to cut into the galley wall or listen to the fan all the time, so I built a shroud for the coil/fan unit and ducted it to the compartment below the lazarette. This area is partially below the waterline and stays much cooler than the lazarette.
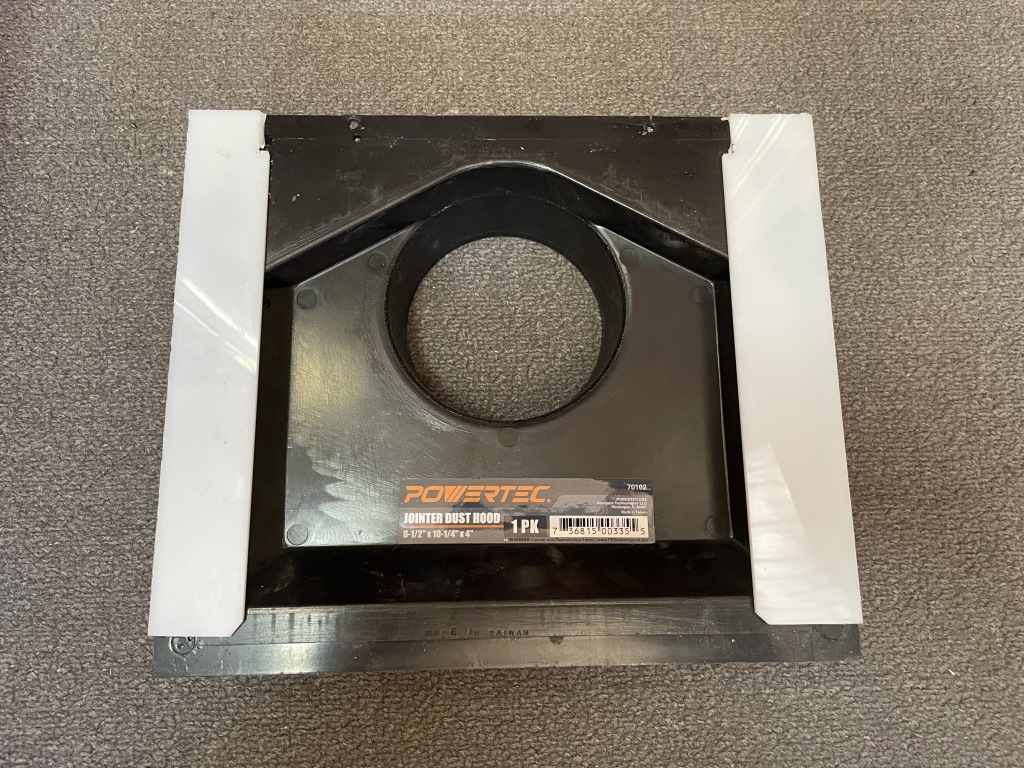
Dometic sells shrouds and ducting kits, but they are pretty expensive for what they are ($200+ in 2022). I figured I could build something much cheaper. I started out looking at shrouds for computer fans, but didn’t really find what I needed. I ended up buying a dust hood for a woodworking joiner as a starting point. I added some plastic strips to better fit the coils, and a couple of plastic blocks to create mounting brackets.
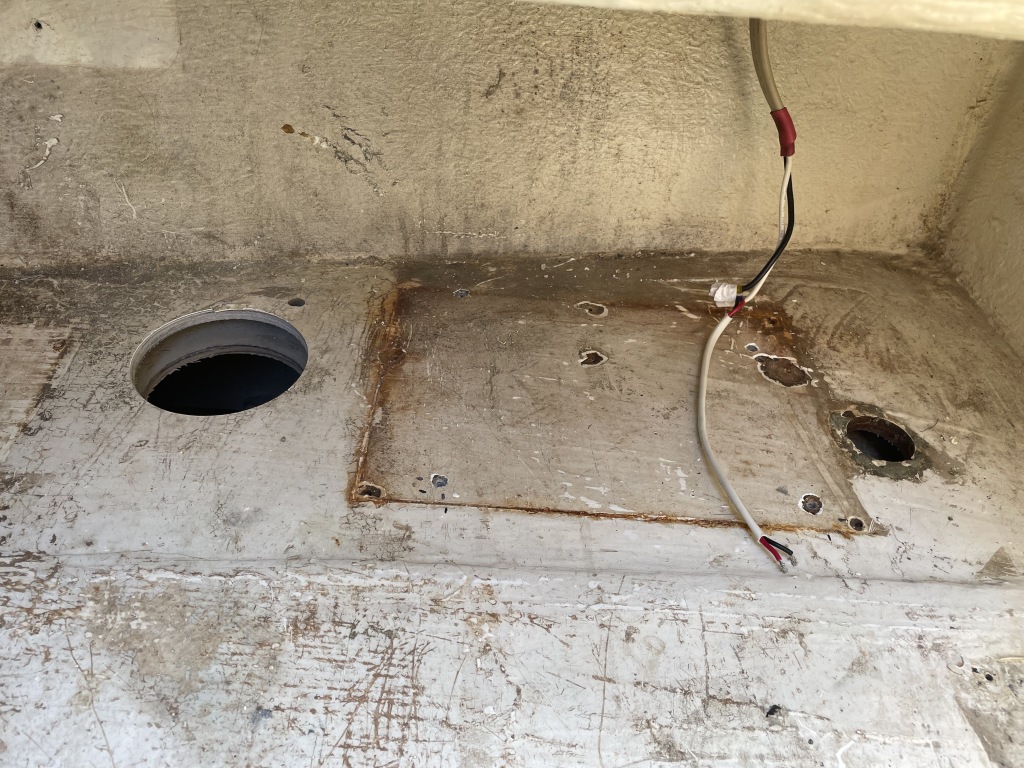
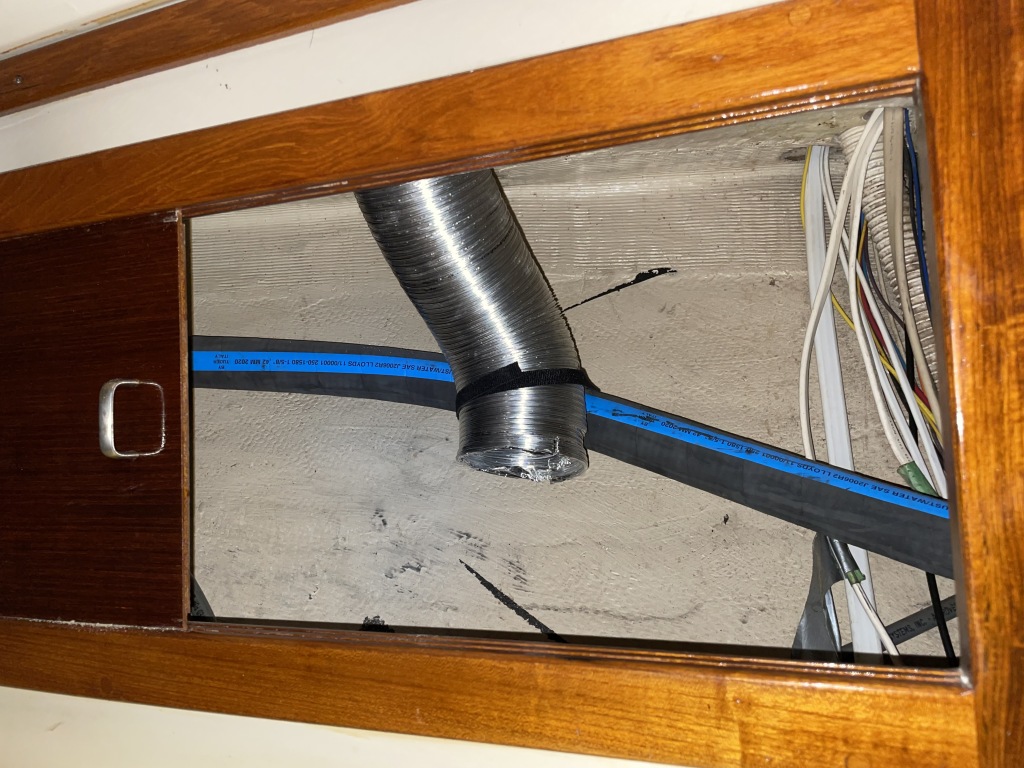
I then cut a 5″ hole in the bottom of the lazarette, and used an old dryer hose to provide the ducting to the compartment below on the port side of the aft cabin.
Wrap Up
In a previous upgrade, I ran new 10g wire from the panel to help reduce voltage drop. This is especially important with this larger compressor, since it is sensitive to voltage.
Mortite caulking cord around all of the tubing and ducts helped seal up the gaps.
To finish the job, wired up the electronic thermostat from a previous upgrade, rather than using the analog dial one that came with the unit.
Results
When I turned it on, it fired right up, and was pulling a steady stream of cool air across the coils. We’ll have to wait for the next hot weekend to see if really is any better.
Updates
7/8/22 – When we got to the boat the next weekend, the freezer was not nearly as cold as it should be. I called Adler-Barbour tech support, and they suspected that during the install, I was too slow connecting the refrigerant lines and too much gas escaped. I then arranged for a marine refrigeration specialist to come later in the week to top it back up.
7/9/22 – While thinking more about the install, I realized that I failed to put a resistor in the thermostat circuit. This causes the compressor to run at its slowest speed, which is not sufficient for this size box. I ordered parts so I could have a variable resistor that I could use to change the speed setting as needed.
7/12/22 – The fridge tech suggested that we remove all of the existing gas and refill with a clean system. Since it was only a few dollars more to do, I agreed. During the process, he was able to confirm that I had good connections and that things were now working as expected. He also suggested that I run the compressor near the top of its range for speed.
7/15/22 – Back on the boat the next weekend, things were much better. The freezer was around 7°F and the box ranged from 28-40° depending on location. We could probably add a fan to help even out the temperature, but we decided to live with it. It actually works out OK, because we can put different items in locations that have appropriate temps. When on a trip, we keep the meat/cheese/etc in the coldest sections and things like drinks in the warmer areas. Also, I found that I could adjust the speed of the compressor depending on the outside temperature. I can have it about 1/2 way most of the time, but turn it up on really hot days.


