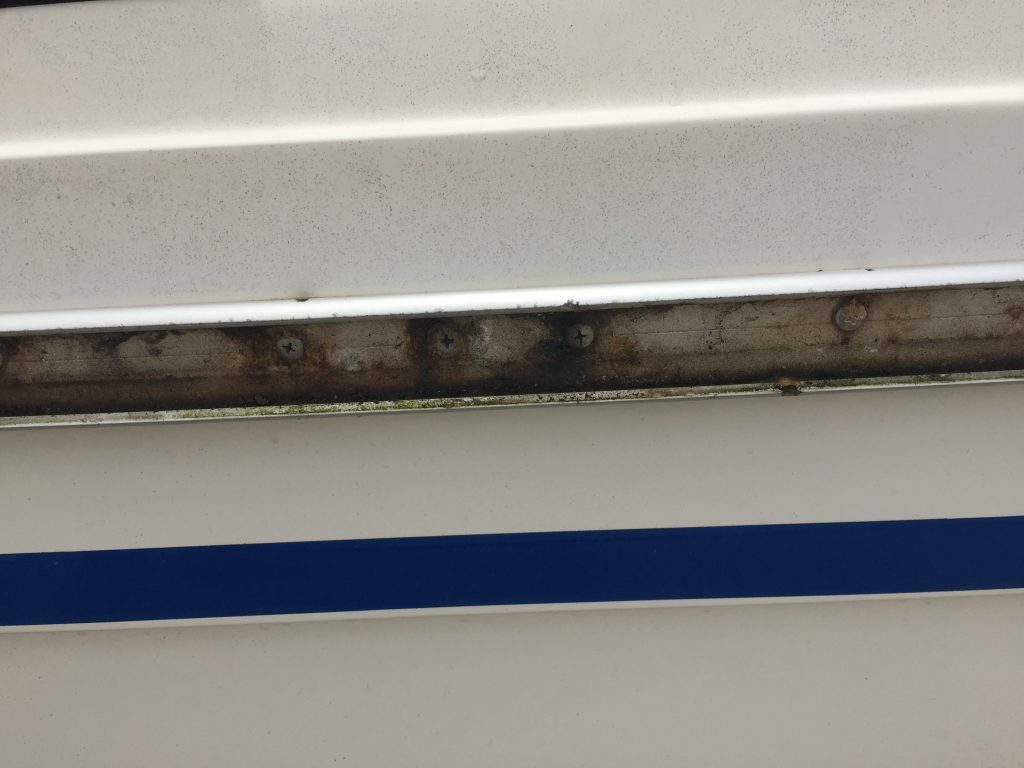
When we first bought our boat, there were a few things that really made her look old and outdated. The rub-rail was one of them. The older Catalinas used a tan rub-rail, and ours was not only tan, but also cracked and faded.
Along with changing the stripe from faded red to blue, this was one of the items high on our list from a cosmetic standpoint. Unfortunately, other projects took priority, so it was more than a year later that we finally got around to this upgrade.
Parts
We ordered the grey replacement rubber from Catalina Direct, and it arrived quickly. There are two different product IDs, depending on whether you have the open or closed transom. Make sure you get the right one for your boat.
Removal
Removing the old rub-was much easier than I expected. I assumed it was so rotted and dried out that it would crumble and make a mess. But it did not. After removing the two screws that hold it in place at the stern, it pulled right out. The whole removal took less than 5 minutes.
Prep
Once it was off, it was obvious that some cleaning and prep work was needed. The track had 30+ years of grime. I started with a good blast from a hose, which produces copious amounts of brown sludge running down the side of the boat. Once it was mostly cleaned out, I went over it with a brush, then the hose again.
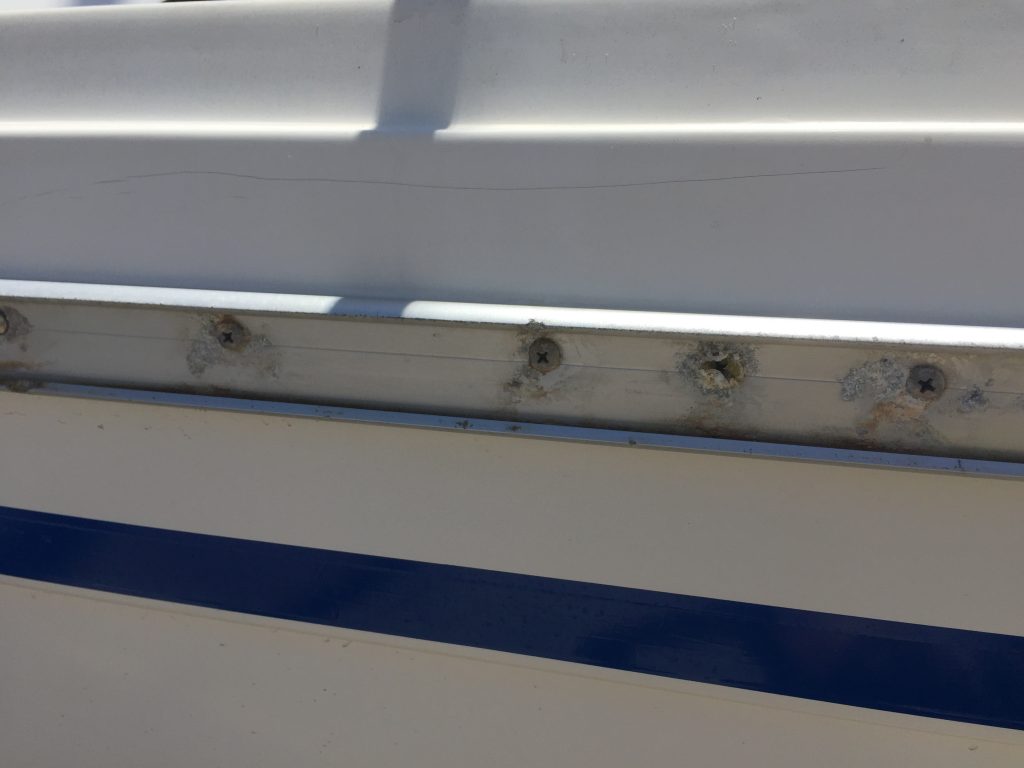
With it all cleaned out, I checked for any issues with the track and mounting screws. Luckily, the screws all looked good. I did have one place where the track groove was bent, so I spent some time with a large flat-bladed screwdriver to open it up a bit.
Techniques and tools
I had read lots of articles about the best way to reinstall, but in the end, it turned out to be pretty easy. We did not use any soap, hot water, heat guns, etc. We just did it on a warm day, and it was plenty supple.
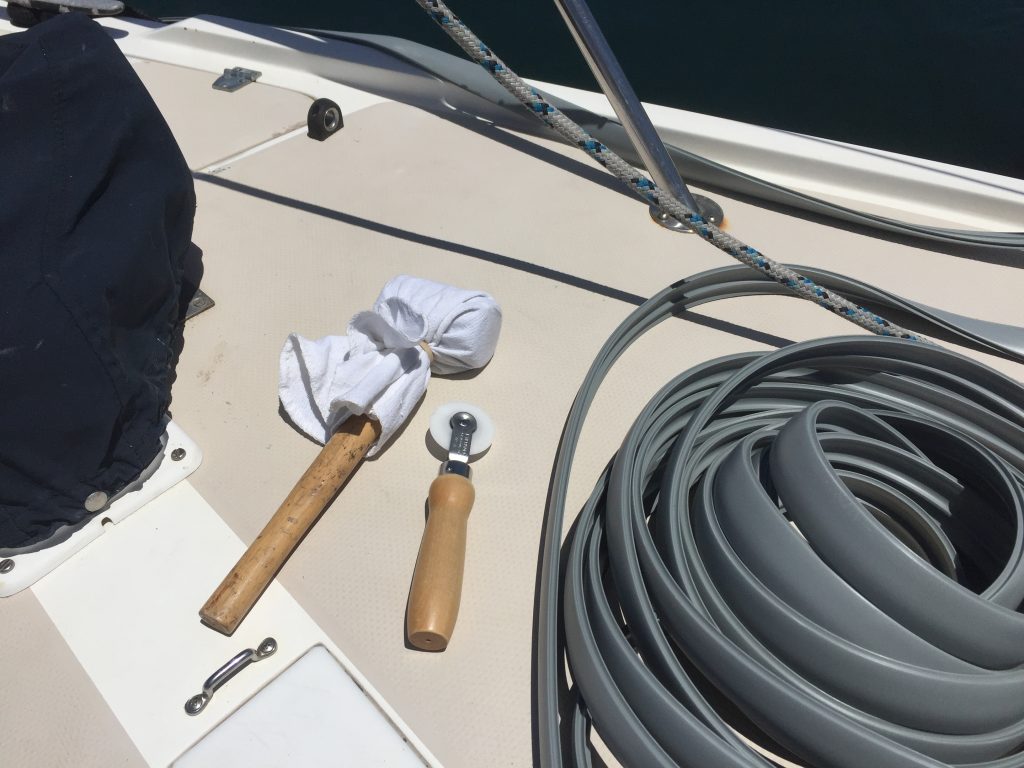
We did find that the right tools make a huge difference. The key was using a roller tool normally used for doing screen installs.
How do I know the roller was a good idea? While working around the bow, I dropped it and watched it quickly sink to the bottom of the marina. 😆 For the other half of the project, we used a large flat-bladed screwdriver to do the job, and it took almost twice as long and was a lot more frustrating.
We also needed a rubber mallet to help set the rubber in place. Initially, the mallet made black marks on the rubber, so Susan had the great idea to wrap it in a soft cloth held on with a rubber band.
Install
I started by making small pencil marks on the outside of the rail to mark the location of the screws for securing the rubber once it was done.
We then rolled out the rubber down one side and started at the stern. Doing about a foot at a time, I would hold the bottom in the groove, then use the roller to push the top into the groove. Susan would hold the rubber up so it did not pull out, then she tapped the section I had just done with the rubber mallet to set it in well.
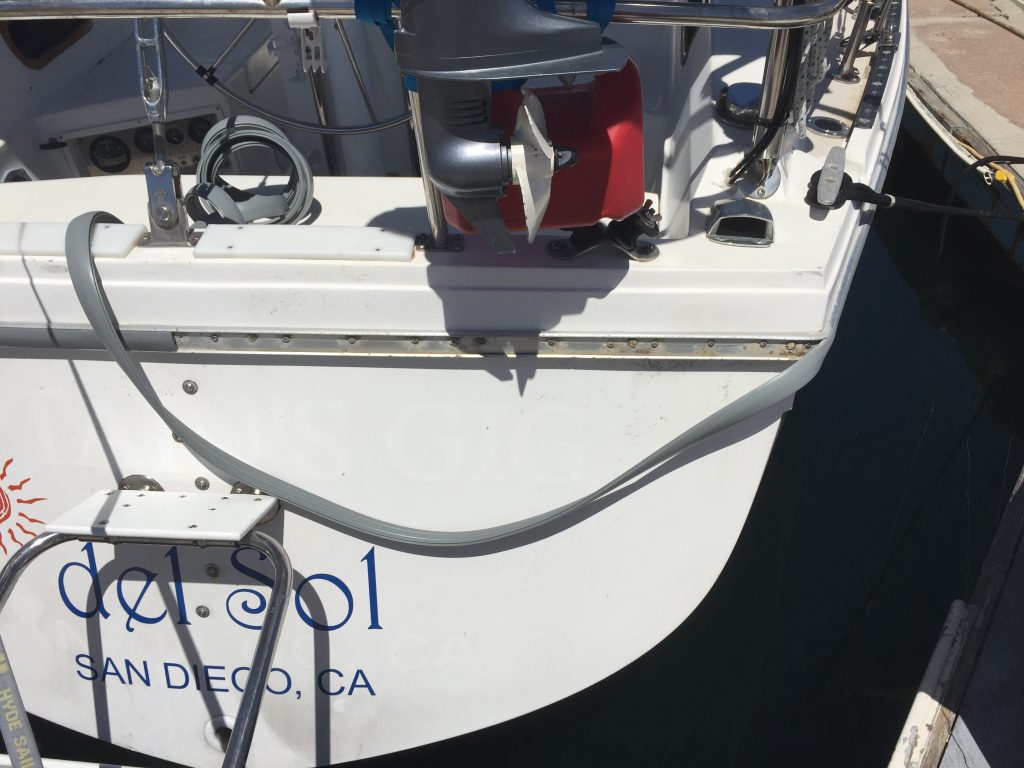
Once we got to the end, I cut the rubber so it would match up to the part that was already installed. If you have an open transom, you won’t have this step. I then used the marks I made at the start to drive the screws through the rubber and into the original holes to secure it. I missed with one, and the screw was pulling the rubber out, so I had to make another try. It worked, but now I have a small hole in the rubber that shows. Since it is at the stern, it will almost never be seen, so no big deal. One more “perfectly imperfect” thing on the boat. 😛
Result
The end result was nice, and definitely made her look newer.


