Intro
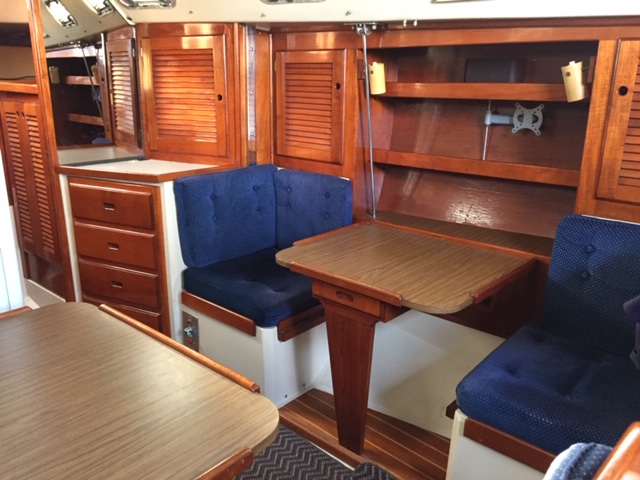
For some reason, our boat had white laminate for the galley and nav station, but fake wood laminate for the tables. One look at the tables and the Admiral decreed that they needed to be white. This was supposed to be one of the first projects, but a few days after we bought the boat, I broke my hand, so this one had to wait a few months.
Supplies
I purchased a sheet of white laminate from Home Depot, and it was delivered in a couple of day. I also bought a laminate cutter (handheld router), some laminate adhesive, and a roller.
Removal
Removing the old tables was pretty easy. The small one just lifts out of its brackets. The larger one, I unscrewed from the floor and took the whole pedestal home to work on.
Pedistal
The pedestal itself was corroded around the bottom, so I cleaned it up and spray-painted it with silver matte. Now it matches the stainless steel look we were going for in the cabin.
Fiddles
The next challenge was removing the fiddles from the tables. I used a very small flat-blade screwdriver and an fine-point awl to chip out the bungs that covered the screws. With those out of the way, it was just a matter of unscrewing the fiddles.
Once the were off, I lightly sanded the fiddles in preparation for varnish touch up later in the process.
Edges
There was no point in trying to remove the old laminate, so I just filled in the gouges with wood putty and sanded it all smooth.
Next I cut a strip of laminate a bit larger than the thickness of the table and glued it on. I followed the instructions for the adhesive. First I put a thin layer of adhesive on the back of the laminate and on the edges of the tables. Then I waited for them to get tacky. At that point Susan and I worked together to stick it down using the roller to press it down and smooth it out as we went along.
Once the strip was on, I used the router to trim it flush with the top and bottom. There were a couple of places on the corners where we ended up with a small gap. I filled those with wood putty and sanded it smooth again.
Tops
When it was time for the top, I cut sheets about 3/4″ larger than each table top. Then for each table , we coated the table top and sheet with adhesive, just like we did for the edges.
We then laid out small dowels on the table top, and positioned the sheet on them with just a bit hanging over each side. Once we were ready, we removed the middle dowel and pressed the sheet down, using the roller to help the process. Then we removed one dowel at a time towards one edge, rolling as we went. We repeated the process in the other direction until the whole sheet was smoothly pressed into place.
Another round with the router made the top flush with the edges.
Final assembly
Next I screwed the fiddles back into place. I then found some teak plugs at West Marine that were close in size to the screw holes, but they were way too thick. I trimmed them down, glued them into place, sanded them flush and put a couple of layers of varnish over the entire surface of the fiddles. The teak plugs are a little darker than the fiddles, but it still looks pretty good.
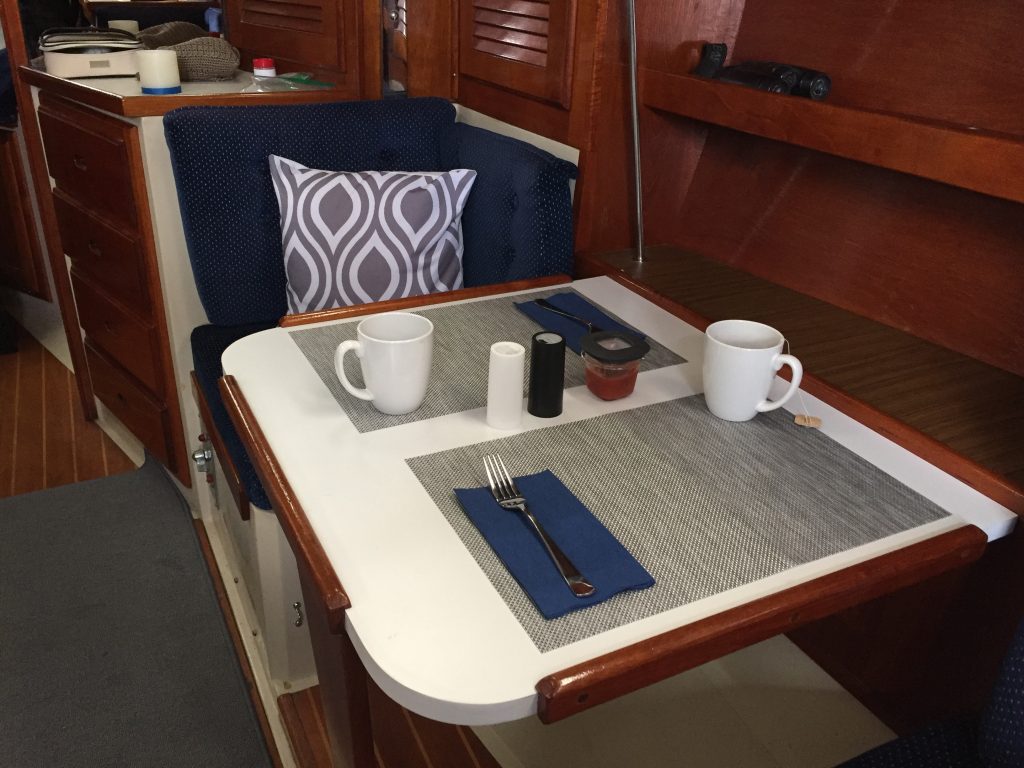
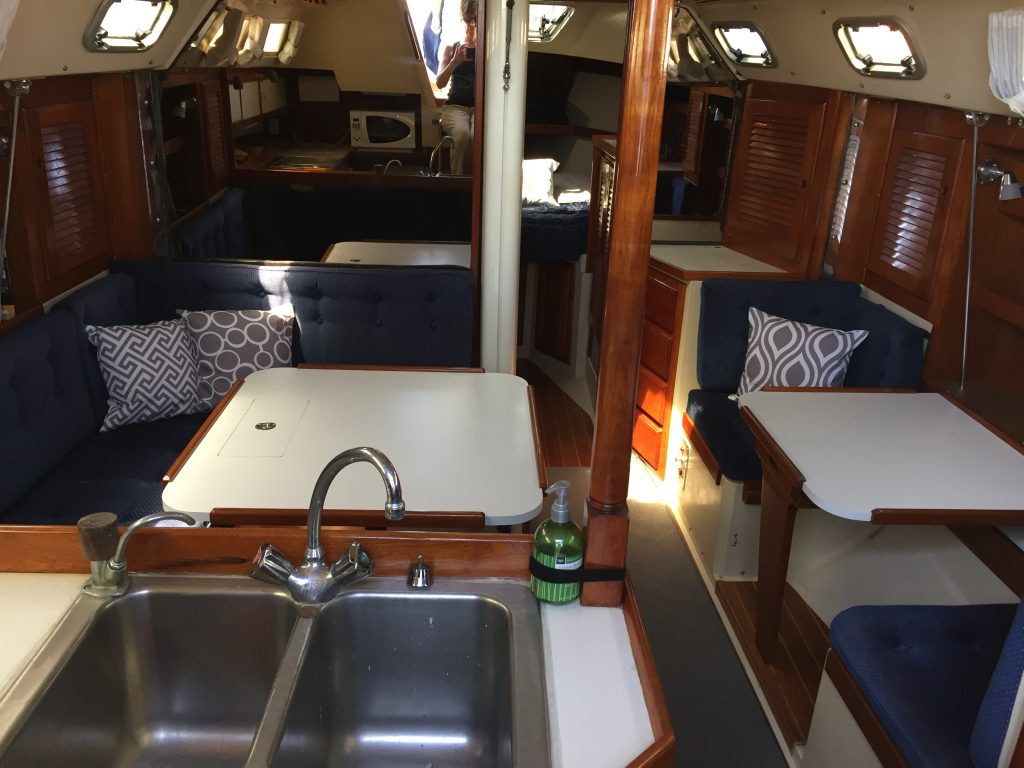
Once the tables were back in, the cabin looked much brighter and coordinated better with the galley. Add a few pillows and placemats, and it is now a pretty nice place to spend time in the evenings.


