Intro
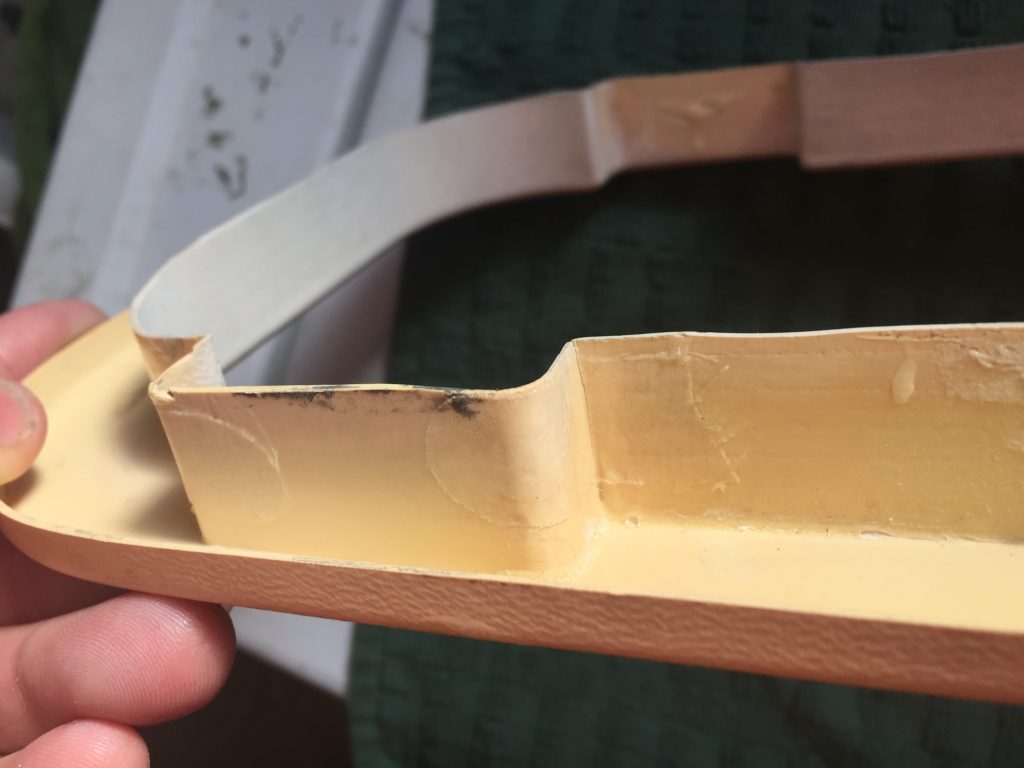
The trim around our flip-out portholes was very brittle and cracked, and also rather faded and stained. We really wanted to replace them, but later learned that those parts were no longer available. Luckily we had been pretty careful with them and were able to get them off to refurbish.
Removal
They are held on with Velcro tape that is applied to the metal of the porthole as well as to the trim, so it was just a matter of carefully prying them off. I used a flat-bladed screwdriver to reach in and help separate the Velcro.
Once they were off, we were able were able to see where they needed repair.
Repair
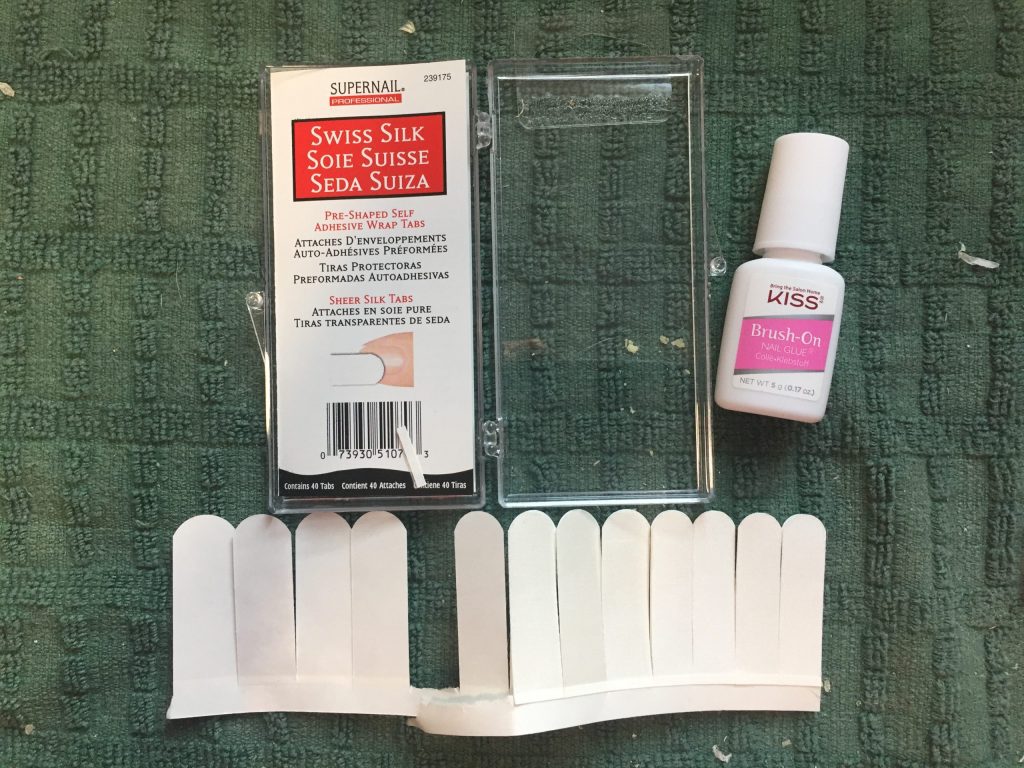
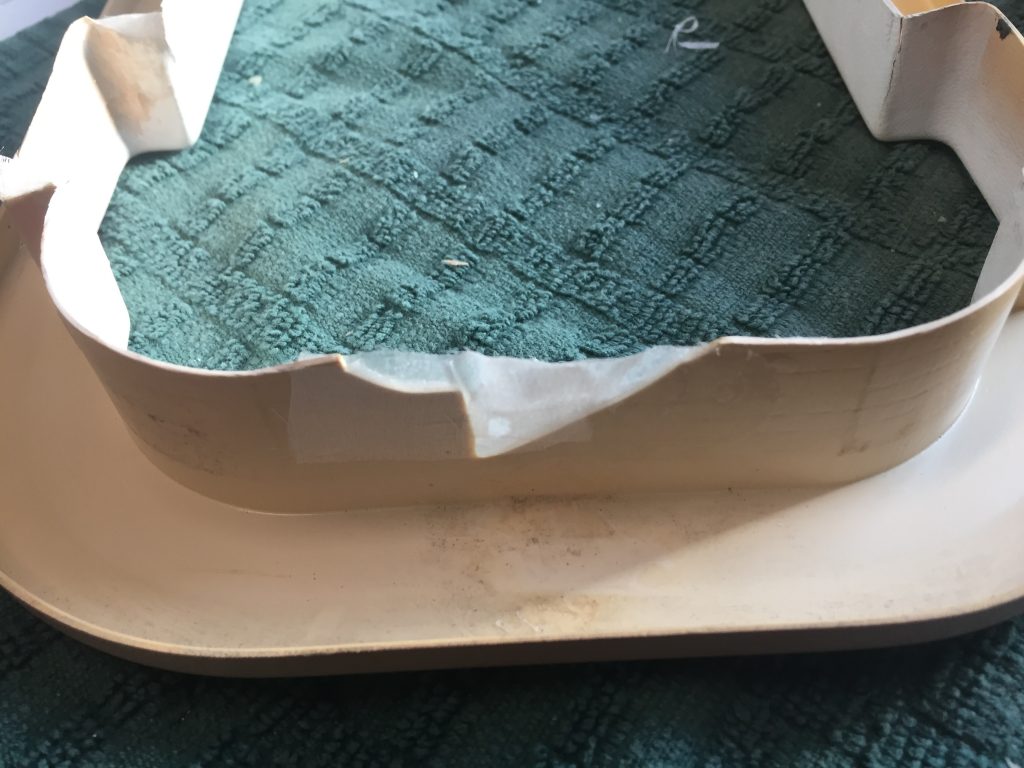
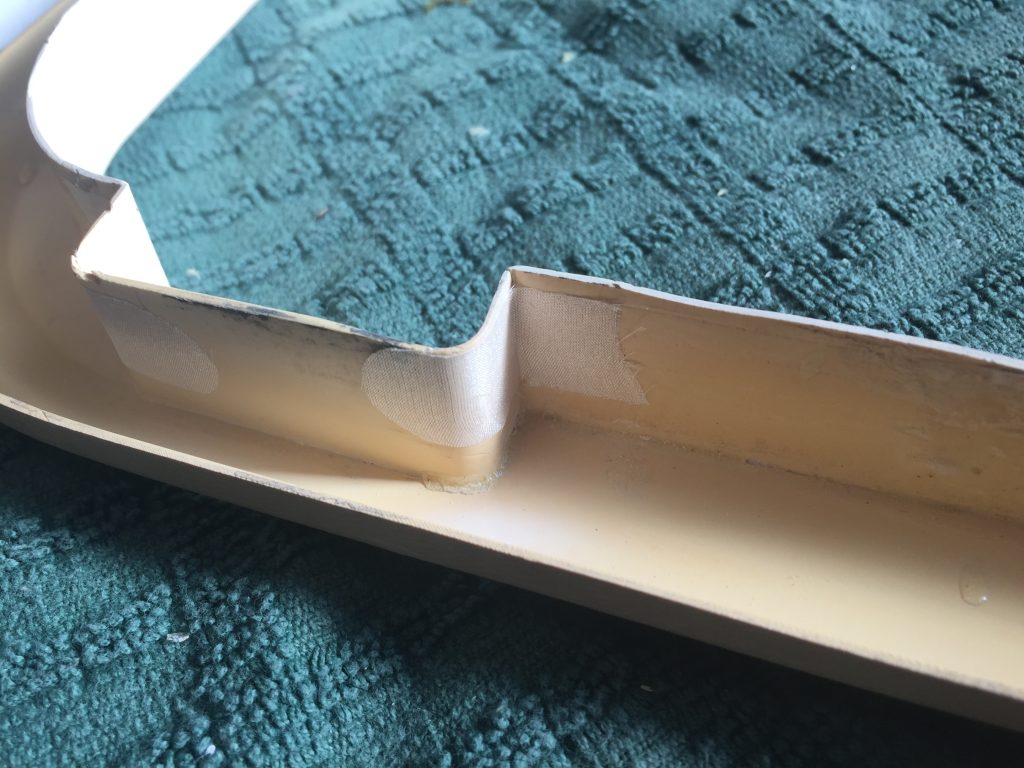
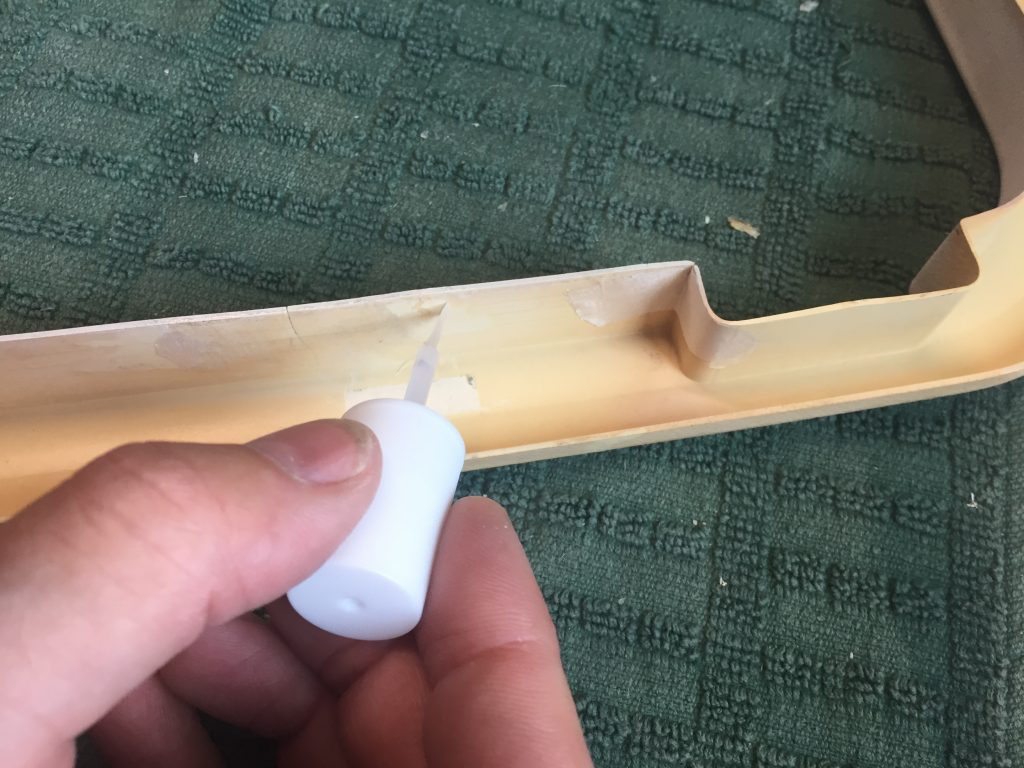
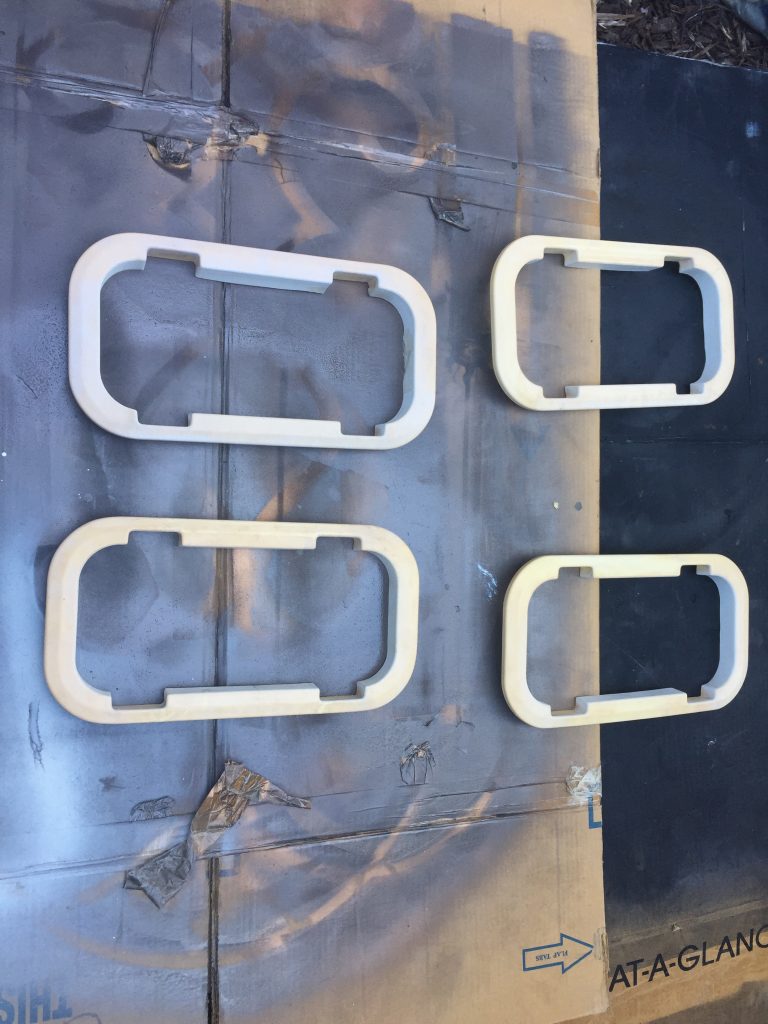
I wasn’t sure how best to fix the cracks and missing chunks, but luckily Susan came out to the garage at the right moment and had the brilliant idea of using fingernail repair tape. It works a lot like fiberglass. There is a strip of cloth-like material with a light adhesive on one side. I was able to use it just like tape to bind cracks and to fill gouges. Once in place I used the glue that comes with it to saturate the tape, which also binds it to the trim plastic. After a couple of minutes, it dries to a solid surface, which can be sanded or trimmed as needed.

Refinish
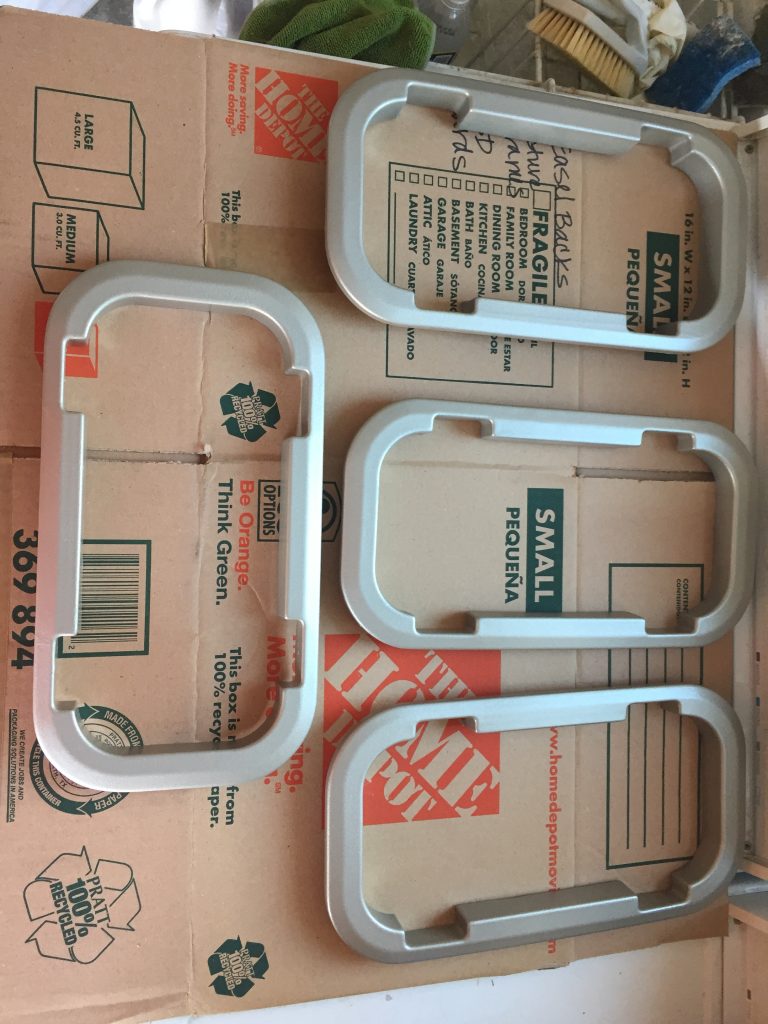
Once all of the repair work was done, I spray painted it with the same silver matte that I used on the table pedestal. Now they look like stainless steel and fit in with the rest of our décor.
Reinstall
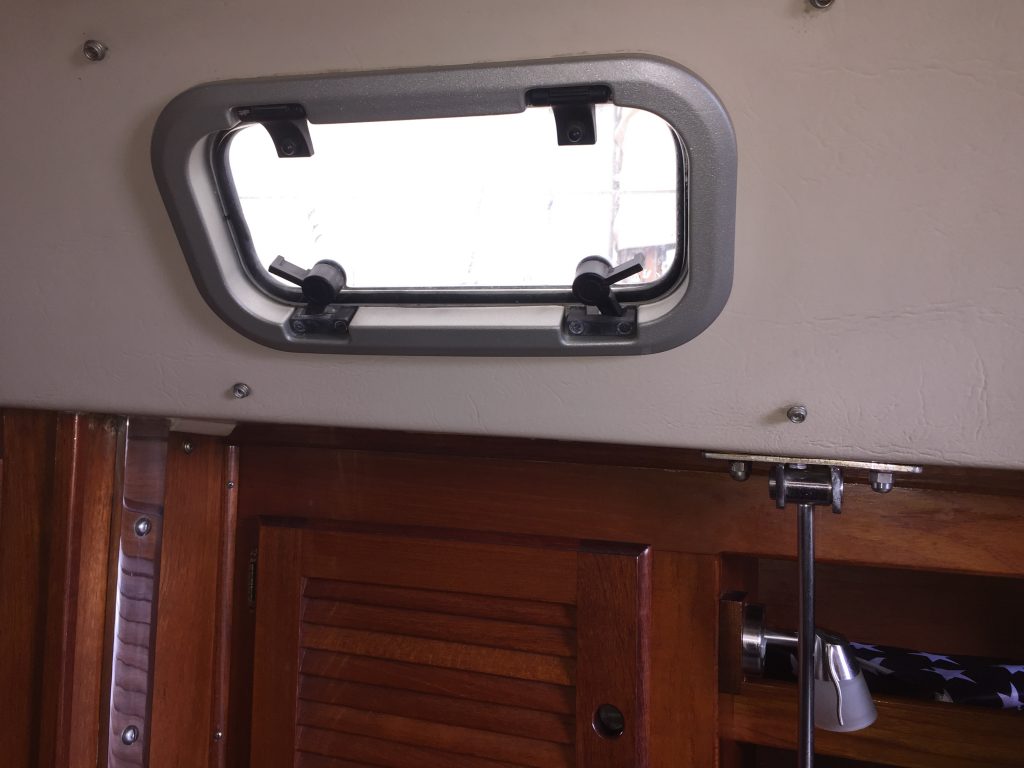
To put them back on, we installed new Velcro to the frames and trim. Due to the spacing, we had to add several layer inside the trim to get it to touch the strips on the frame. Then a gentle push secured them back in place.


