Intro
The sound insulation in our engine cover box was disintegrating and I was worried that all the particles were being sucked into the engine. Even if they weren’t, it was making a mess and looked horrible.

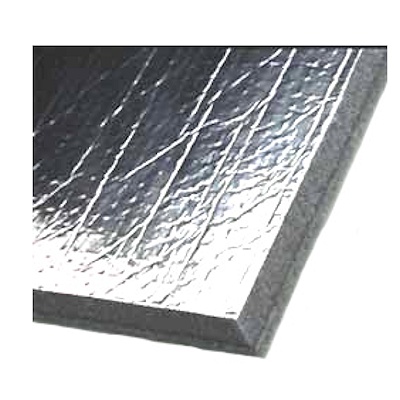
Materials
I ordered the Soundown Sound-Stop from Defender, along with the installation kit.
In hind-sight, I would not bother with the installation kit (more on that later).
Preparation
The first step was to remove all the old insulation and get everything cleaned up. I wasn’t sure what kind of toxic stuff was in there, so I used gloves, goggles, and a respirator just to be safe. I put it all in a heavy-duty garbage bag and sealed it up.
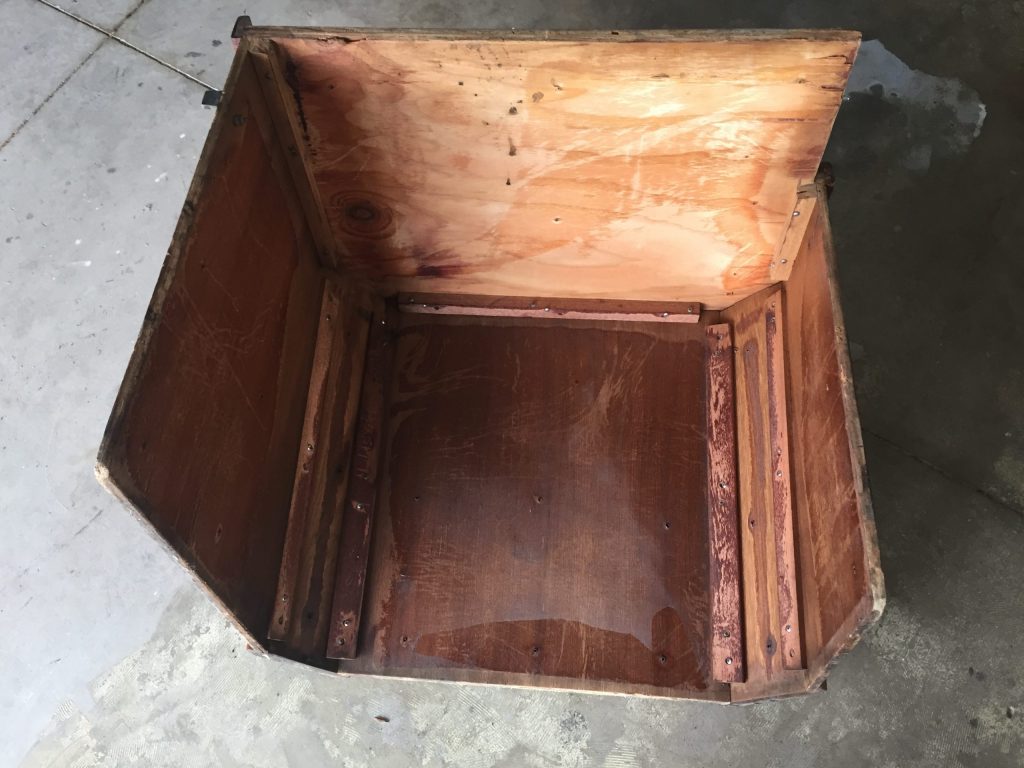
Clean up
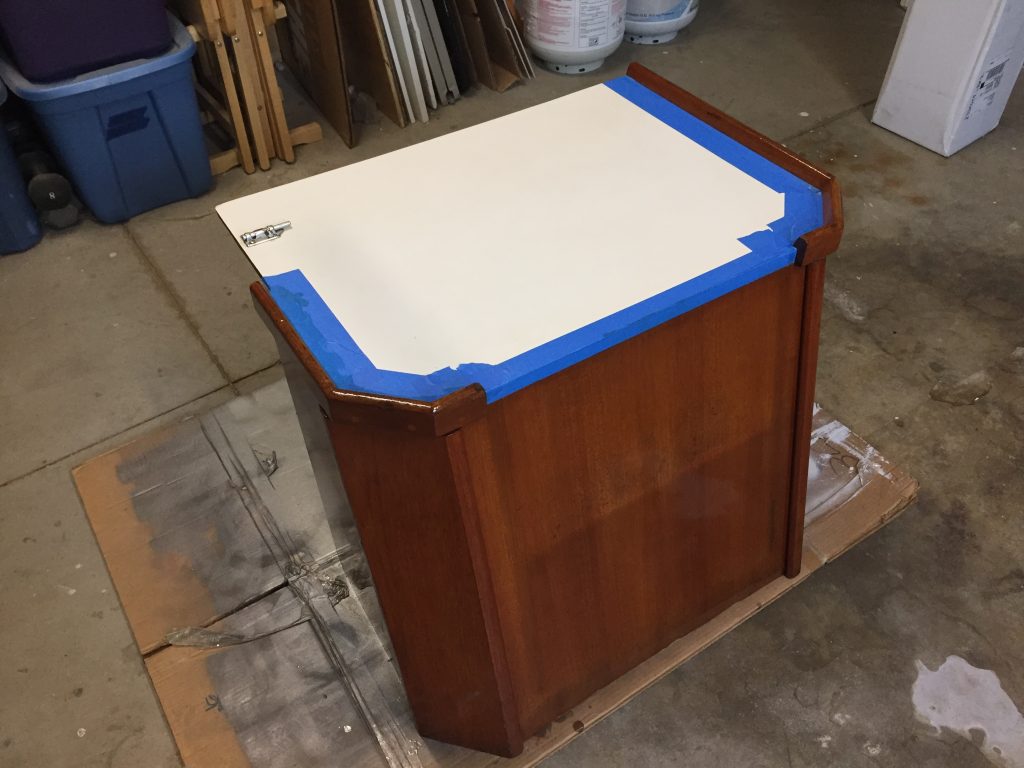
While I had it in the garage, I decided to fix up some water damage around the base. I sanded it down to good wood, and put on some new varnish. It did not fix it 100%, but it is much better and hardly noticeable now.
I also used some good degreaser and cleaned the top. Who knew it was still white and not yellow.😮
Panels
Next it was time to install the new sound insulation. Trying to figure out how to get all the panels I needed from the one sheet of insulation was interesting.
I started out making cardboard templates, and laying them out on the sheet. I had to trim a couple of the panels down very slightly to get them all to fit.
Next I cut out the panels using a box knife to cut the foil surface and the first layer of foam. Then I used a drywall saw to cut through the heavy layer in the middle.

Tape
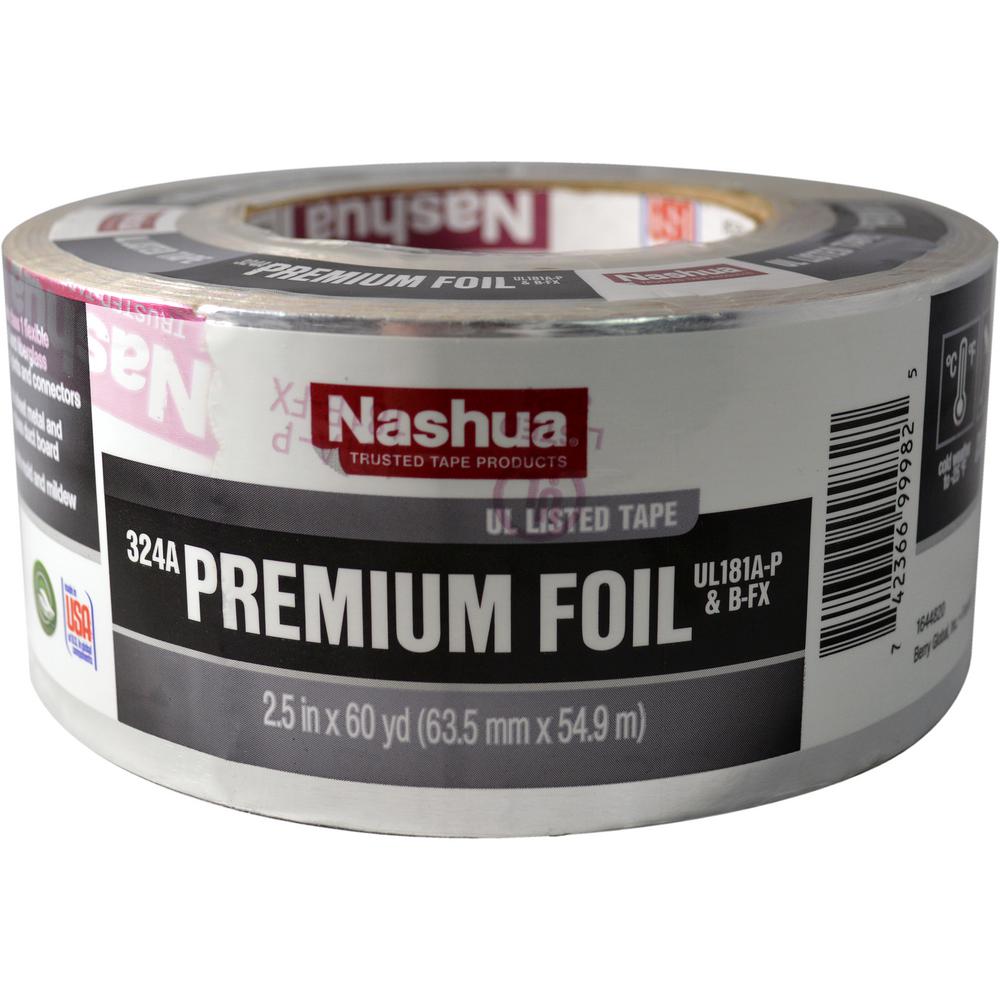
Once all the panels were cut out and the test fit looked good, I taped all the edges to seal them. This is where I ran into the first problem with the installation kit. It only comes with about 1/3 of the tape you need for the job, and it is very flimsy tape. I went to home depot and bought foil duct tape. This is not the stuff you normally think of when you think of duct tape. It is heavy metallic foil with a sticky back. I got the wider, heavy-duty kind.
Install
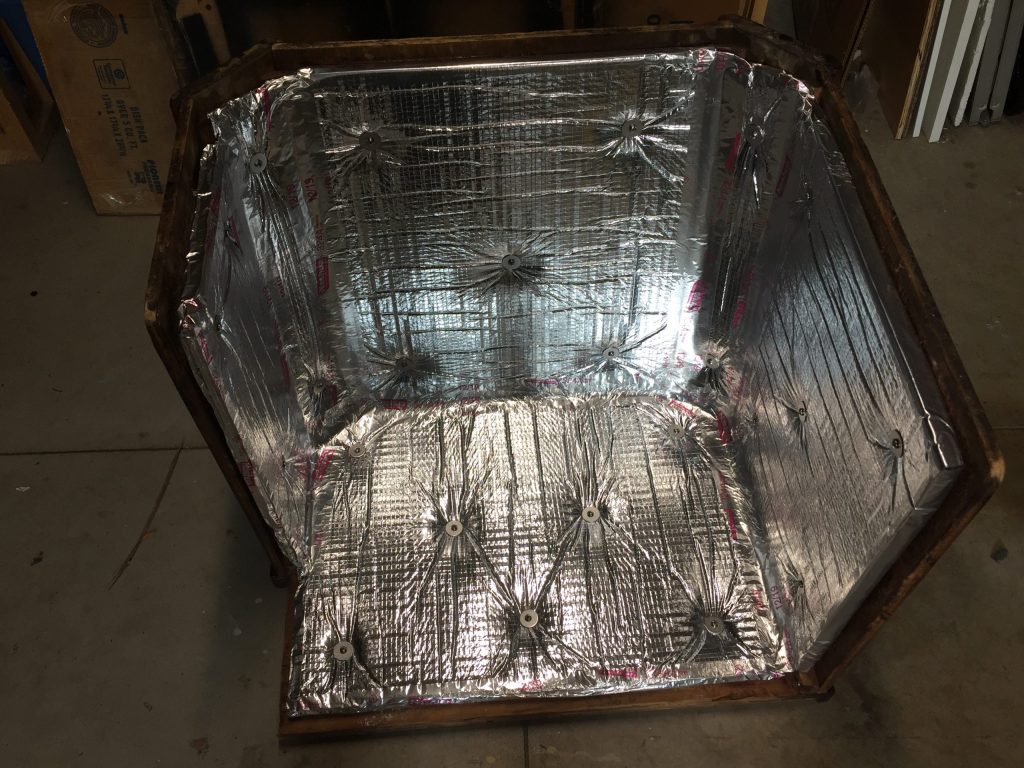
Next it was time to install the panels. The installation kit comes with pins that look like they would work well, but are a pain to mount, and there are not enough of them. So I chose to use 1″ #10 stainless screws with fender washers. This is similar to how the original was mounted, but with longer screws (thicker material) and larger washers for better holding. Using this method, I was able to put a lot more fasteners in, and it was easy to do.
Before you screw them in, you are supposed to first glue them in place with spray adhesive. I used what came in the installation kit, since I already had it, but any good spray adhesive should work.
Once the panels are all glued and screwed, I taped all the seams with the same foil tape for a nice clean look and to reduce the chance of oil/grease/water getting to the foam.
The final result turned out nice. When I reinstalled it, I wasn’t sure if it would rub on any of the engine parts, so I slipped my iPhone under the edges and took some photos from the inside. Everything seemed to have plenty of clearance, and it looks better now, too.
Updates
4/2/20 – Due to the Covid-19 lockdown, we have only had the engine fired up once. I did not notices any significant difference in engine noise. On the plus side, it is keeping the engine and the area around it much cleaner now that we don’t have the old liner disintegrating and leaving its remnants everywhere.


